Have you ever wondered how to insert a watermark in Word? Watermarks can add a professional touch to your documents, whether you want to protect them from being copied or simply enhance their visual appeal. In this article, we will guide you through the step-by-step process of inserting a watermark in Word.
To begin, open Microsoft Word. You can either create a new document or open an existing one in which you want to insert the watermark. Once you have the document open, follow these simple instructions:
- On the toolbar at the top of the screen, click on the "Design" tab. This will open the design options for your document.
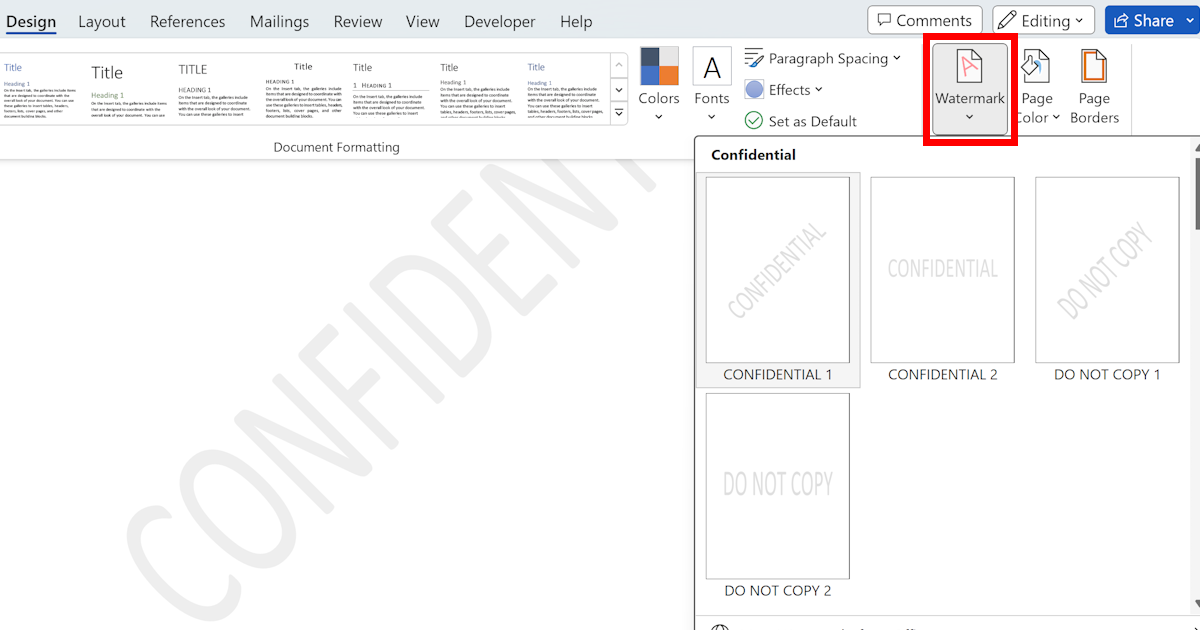
In the "Page Background" section, click on the "Watermark" button. A drop-down menu will appear with different watermark options.
You can choose from predefined watermarks such as "Confidential", "Draft", "Urgent", or "Do Not Copy", or you can create a custom watermark.
To insert a predefined watermark, simply click on the desired option. The watermark will be inserted into the background of your document.
If you want to create a custom watermark, click on the "Custom Watermark" option at the bottom of the drop-down menu. This will open the "Printed Watermark" dialog box.
In the dialog box, you can choose between a text watermark and a picture watermark. Let's start with a text watermark.
Select the "Text Watermark" option and enter the text you want to use as the watermark. For example, you can enter "Confidential" or "Draft" as your custom text watermark.
You can customize the font, size, color, and layout of the watermark using the options provided in the dialog box. Experiment with different settings until you are satisfied with the appearance of the watermark.
If you prefer to use a picture or a logo as your watermark, select the "Picture Watermark" option in the dialog box.
Click on the "Select Picture" button and browse your computer for the image you want to use as the watermark. Once you have selected the image, click on the "Insert" button.
You can choose the scale and washout options for the picture watermark to adjust its visibility in the document.
After making all the necessary adjustments, click on the "OK" button to apply the watermark to your document.
The watermark will now be visible in the background of your document. You can also adjust the position of the watermark by clicking on the "Watermark" button and selecting the "Customize Watermark" option from the drop-down menu.
In the "Printed Watermark" dialog box, you can choose to apply the watermark to all pages or only specific pages by selecting the corresponding options.
You can also remove the watermark from your document by returning to the "Watermark" button and selecting the "Remove Watermark" option from the drop-down menu.
Now that you know how to insert a watermark in Word, you can add a professional touch to your documents. Whether you want to protect your content or enhance the visual appeal of your documents, watermarks are a powerful tool to achieve your goals. Experiment with different watermark options and customize them to suit your needs.
In conclusion, inserting a watermark in Word is a straightforward process. By following the steps outlined in this article, you can easily add a watermark to your documents and customize it according to your preferences. So go ahead and give it a try! Your documents will never be the same again.
