SharePoint is a powerful collaboration and document management platform developed by Microsoft. It allows teams to create, manage, and share content, making it easier for employees to work together and streamline their processes. In this article, we will guide you on how to create a new SharePoint site and invite or assign internal members to it.
How to Create a New SharePoint Site
Creating a new SharePoint site is a straightforward process. Here are the steps to follow:
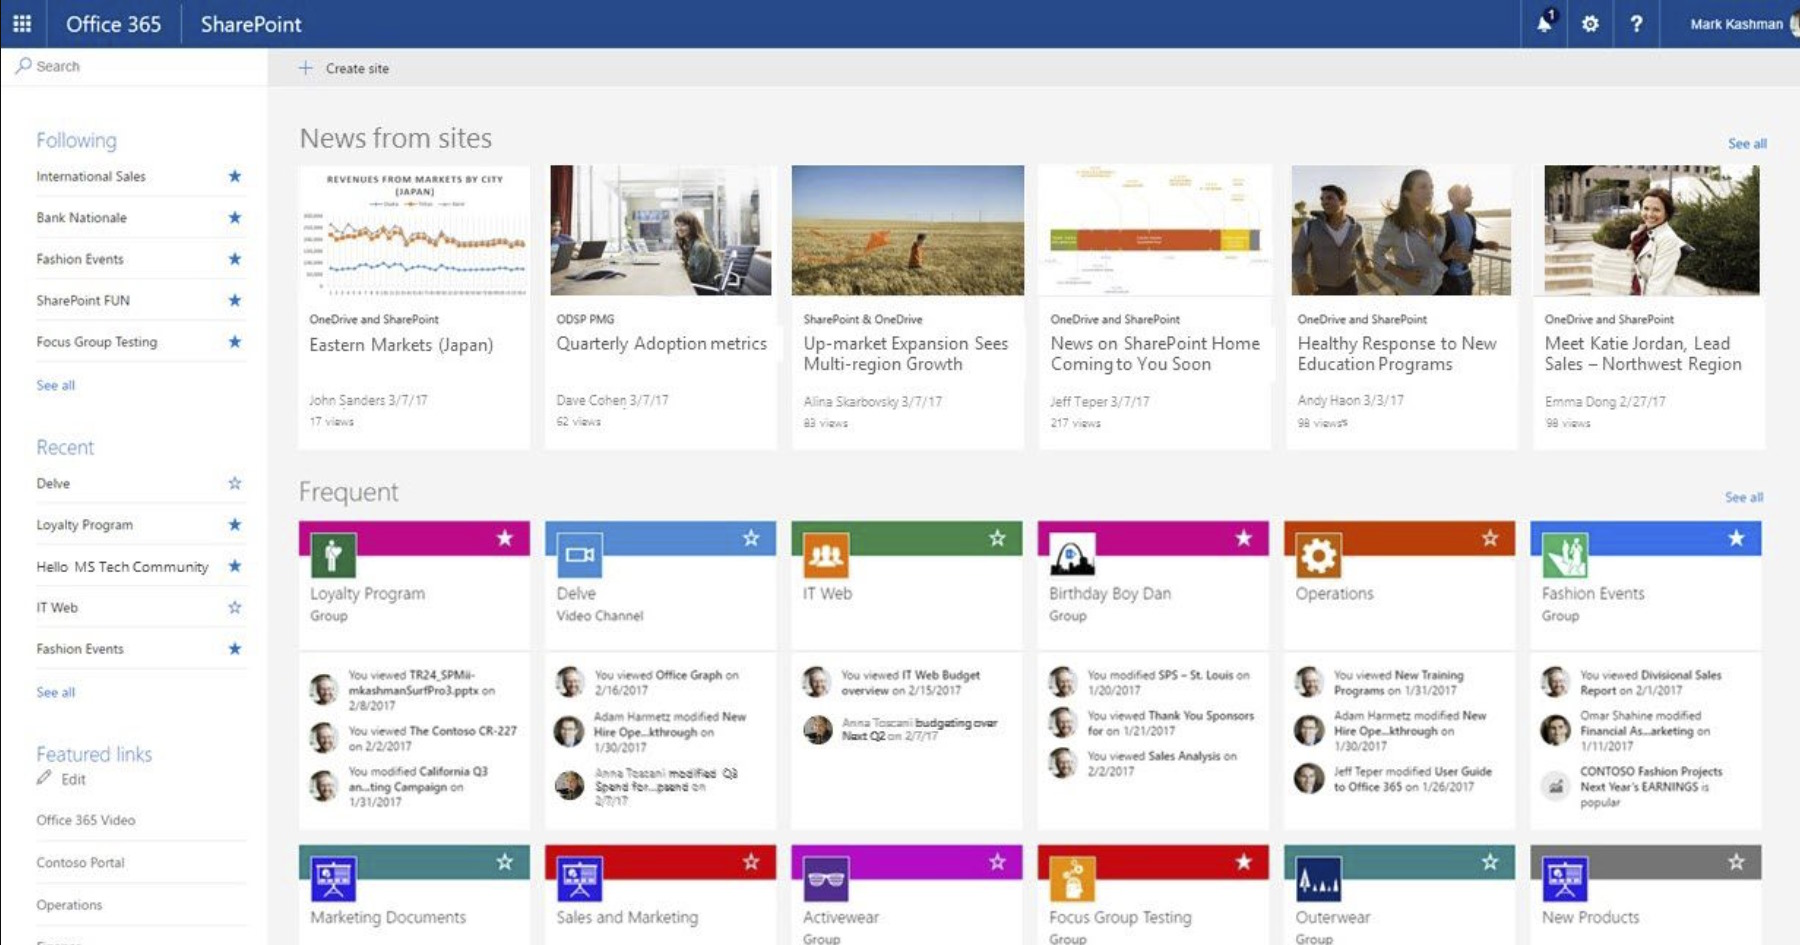
Sign in to SharePoint: Open your web browser and login to your Office 365 account, click on the "App launcher" button in the top left corner and select "SharePoint" to navigate to the SharePoint homepage.
Click on "Create site": On the SharePoint Home page, locate and click on the "Create site" button. This button is usually found on the left-hand side of the page or in the site navigation menu.

Choose a site template: SharePoint offers various site templates to cater to different business needs. Select the template that best suits your requirements. For example, you can choose a team site, communication site, or document center.
Enter site information: Provide the necessary information to configure your SharePoint site. This includes the site name, URL, and its description. Make sure to choose a meaningful name and URL for your site, as it will be used to identify and access it.
Customize the site (optional): SharePoint allows you to customize your site by adding specific lists, libraries, or web parts. You can also change the site's theme and layout to match your organization's branding.
Click on "Finish": Once you have configured the site settings and customized it (if required), click on the "Finish" button to create the site. SharePoint will take a moment to create the site, and you will be redirected to the newly created site's homepage.
Congratulations! You have successfully created a new SharePoint site. Now let's move on to inviting or assigning members to your site.
How to Invite or Assign Internal Members to the Site
To collaborate effectively in SharePoint, you need to invite or assign internal members to your site. Here's how you can do it:
Navigate to the site settings: On the SharePoint site's homepage, click on the gear icon located in the top right corner of the page. From the drop-down menu, select "Site permissions" or "People and groups" option. This will take you to the site's permission settings.
Add members: In the permission settings page, click on the "Invite people" or "Add members" button. A dialog box will appear, allowing you to specify the people or groups you want to invite or add.
Enter member details: Enter the email addresses or group names of the people you want to invite or add to the site. SharePoint will send an invitation email to the provided email addresses.
Choose permissions: Specify the level of permissions you want to grant to the invited or added members. SharePoint offers various permission levels, such as full control, edit, contribute, and read.
Add a personal message (optional): You can personalize the invitation email by adding a custom message. This message can convey any specific instructions or provide context for the invitation.
Click on "Share" or "Add": After adding member details and selecting permissions, click on the "Share" or "Add" button to send the invitations or add the members to the SharePoint site.
Invited members will receive an email with a link to join the site. Once they accept the invitation, they will gain access to the site and its content based on the assigned permissions.
Conclusion
Creating a new SharePoint site and inviting or assigning internal members to it is essential for effective collaboration and document management within an organization. By following the steps outlined in this article, you can create a new SharePoint site and invite or assign members with ease. Also make sure to read and learn how to create a document management system in SharePoint