SharePoint is a powerful tool that offers various functionalities for document management. It allows organizations to create and manage their document systems efficiently. In this article, we will discuss how to create a document management system using SharePoint sites. Whether you are a small business or a large enterprise, SharePoint can help streamline your document management processes and enhance productivity.
Why use SharePoint for document management?
Before diving into the steps of creating a document management system in SharePoint, let's first understand why SharePoint is an excellent choice for managing your documents.
Centralized Storage: SharePoint provides a centralized location to store all your documents, eliminating the need for multiple copies or versions.
Collaboration: SharePoint enables collaboration by allowing multiple users to access, edit, and share documents simultaneously.
Version Control: SharePoint offers version control, ensuring that only the latest version of a document is available to users.
Search and Retrieval: SharePoint's robust search capabilities make it easy to find and retrieve documents quickly, saving time and effort.
Security and Permissions: SharePoint allows you to set granular permissions and access controls, ensuring that only authorized individuals can access sensitive documents.
Now that we understand the advantages of using SharePoint for document management let's proceed with the steps to create a document management system.
Step 1: Create a SharePoint Site
The first step is to create a SharePoint site where you will set up your document management system. Follow these steps to create a site:
Login to your Office 365 account, click on the "App launcher" button in the top left corner and select "SharePoint" to navigate to the SharePoint homepage.
Click on the "Create Site" button

Choose the "Team Site" site. Enter the necessary details such as the name, description.
Click on the "Create" button to create the site.
Step 2: Configure Document Libraries
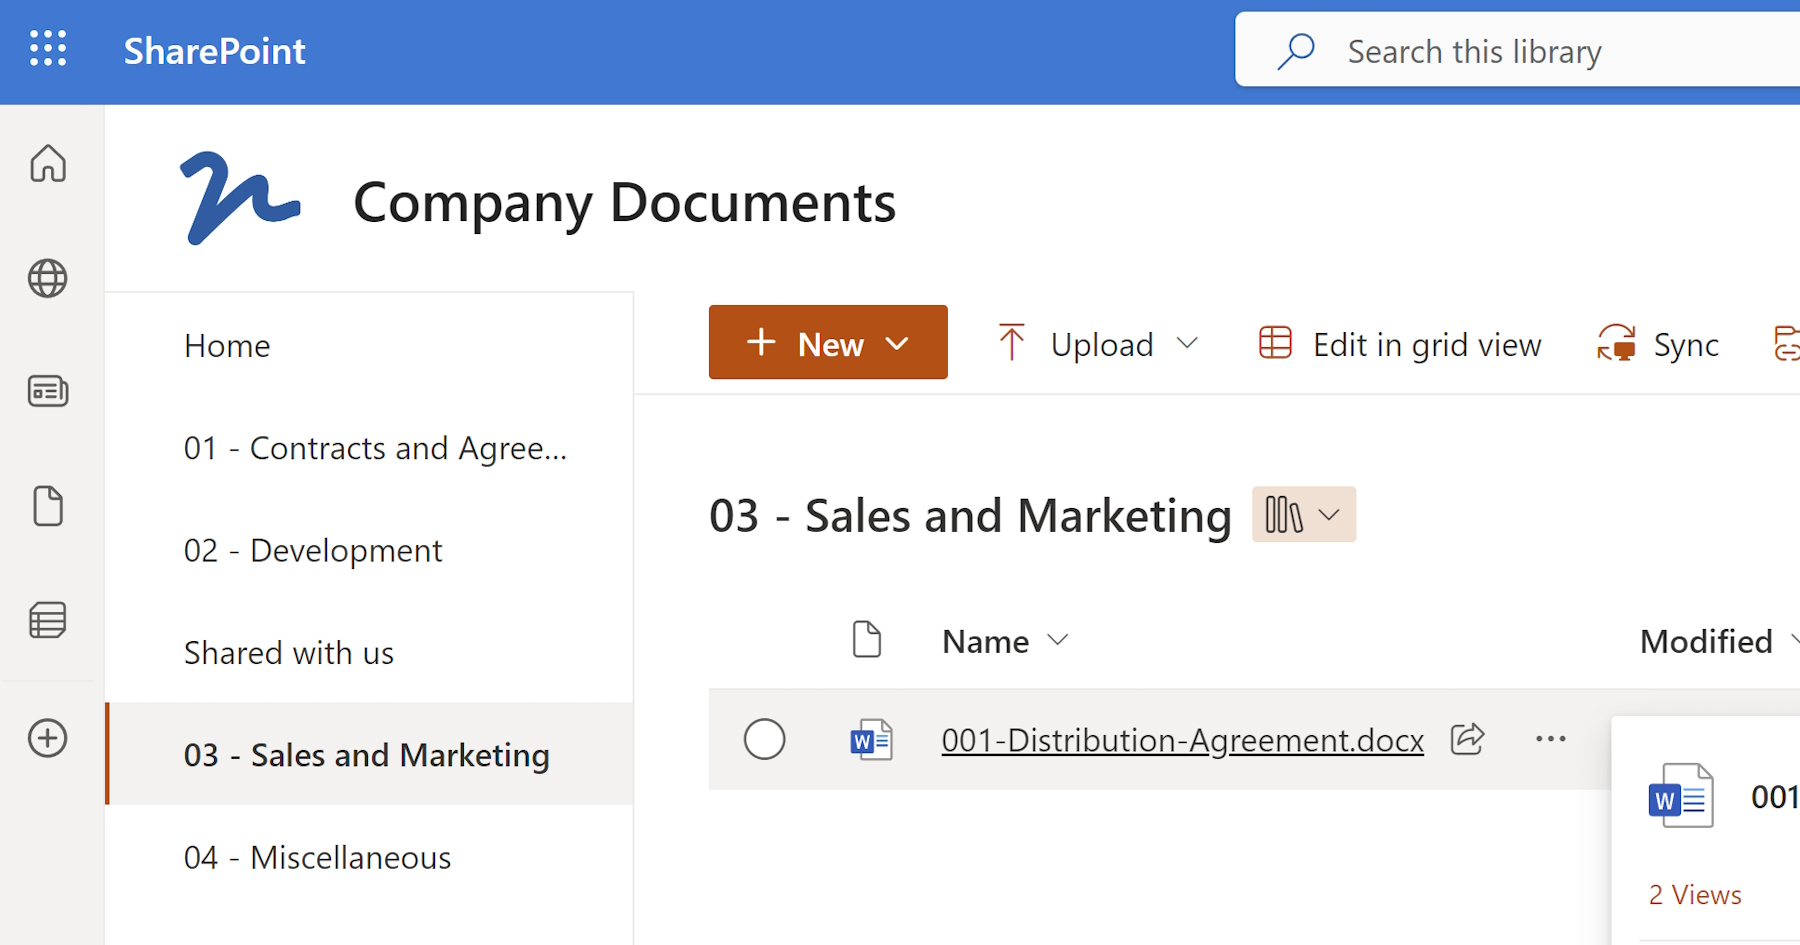
Once you have created the SharePoint site, the next step is to configure document libraries to organize and store your documents effectively. Here's how you can do it:
- Navigate to the site you created and go to the "Site Contents" page.
Click on the "New" button and select "Document Library" from the dropdown menu.
Enter a name for the document library and click on the "Create" button.
Customize the document library by adding columns relevant to your document management needs. For example, you can add columns for document type, department, or author.
You can also set up metadata navigation to make it easier for users to find documents based on specific criteria.
Repeat these steps to create additional document libraries as per your requirements.
Step 3: Define Content Types
Content types are essential for organizing and categorizing your documents. They allow you to standardize the metadata and properties associated with specific document types. Follow these steps to define content types:
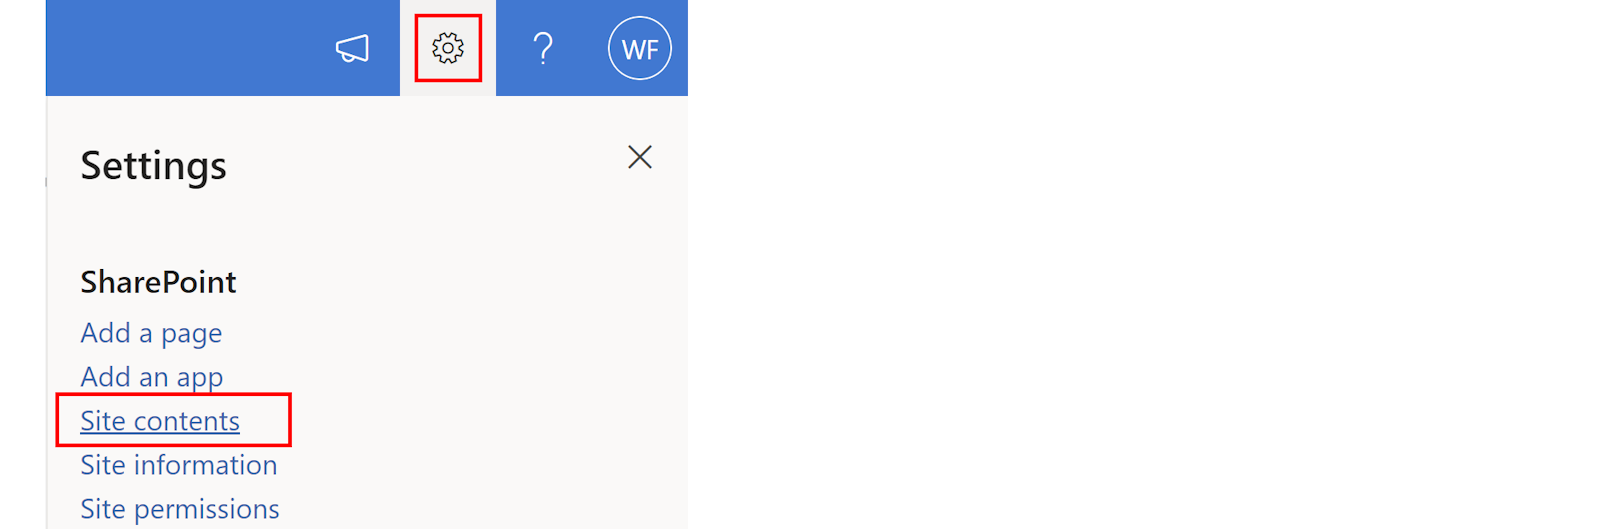
In "Site Contents" page go to the "Site Settings" page of your SharePoint site.

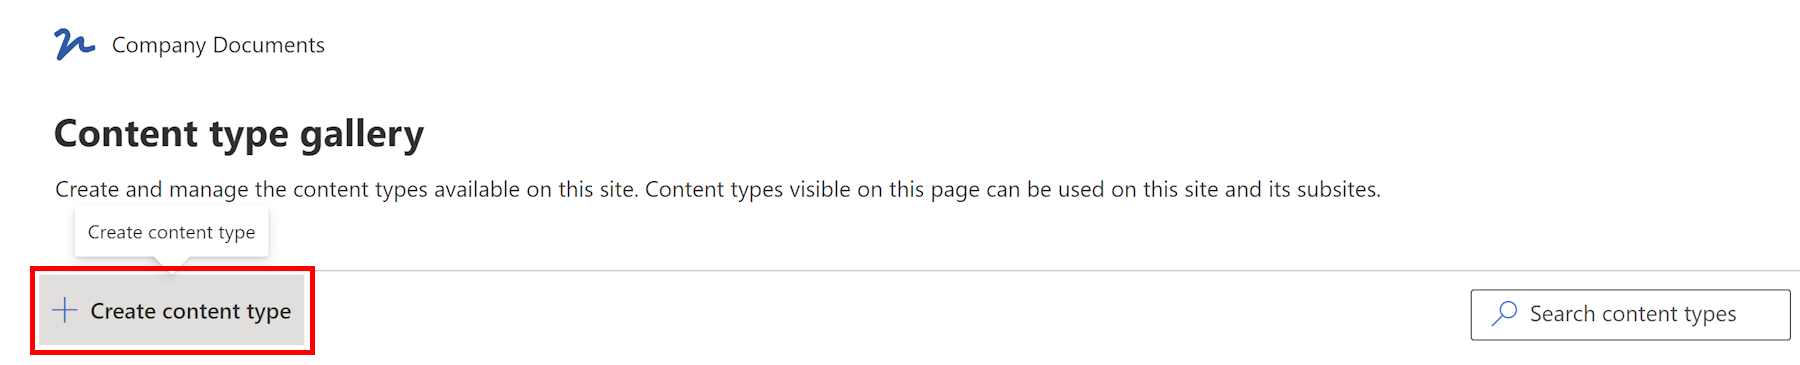
Under the "Web Designer Galleries" section, click on "Site content types".
Click on the "Create" button to create a new content type.
A new dialogue window will open. For example, for a content type which will represent a generic contract do the following:
- In the "Name" box: Input "Contract"
- In the "Description" box: Input a brief description. (Optional)
- In the "Parent Content Type" select "Document content types."
- In the "Parent Content Type from" select "Document."
- In the "Group" box specify a group to add this content type to, or you could decide to create a new group.
After filling in the details, click "OK" to save.

Add Columns: After creating the content type, add in columns that reflect the details, for the "Contract" content type, e.g., Start Date, End Date, Vendor Name, Contract Owner, etc.
- Click on the Contract content type.
- Click on "Add from new site column" then provide name, type and group for each column.
Save the content type and repeat these steps to create additional content types as needed.
Step 4: Configure Document Templates
Document templates provide a standardized format for creating new documents. SharePoint allows you to create and configure document templates for different content types. Follow these steps to configure document templates:
Go to the document library where you want to configure the document template.
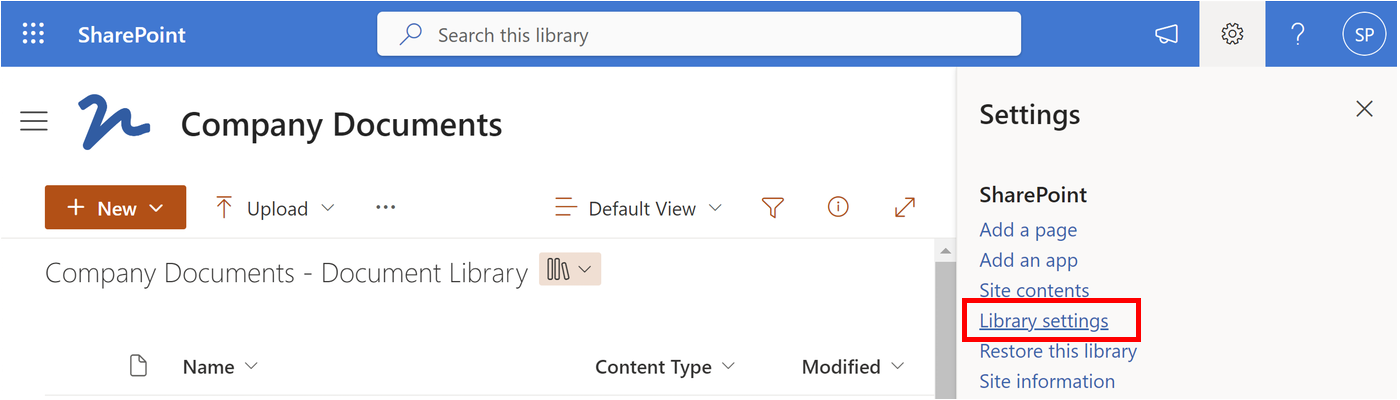
Click on the "Settings" button in the top right toolbar and select "Library Settings" from the menu. Then click on "More library settings" under the Description input.
If you are using an older verison of SharePoint click on the Library tab in the ribbon and select Library Settings from the menu.Under the "General Settings" section, click on "Advanced settings."
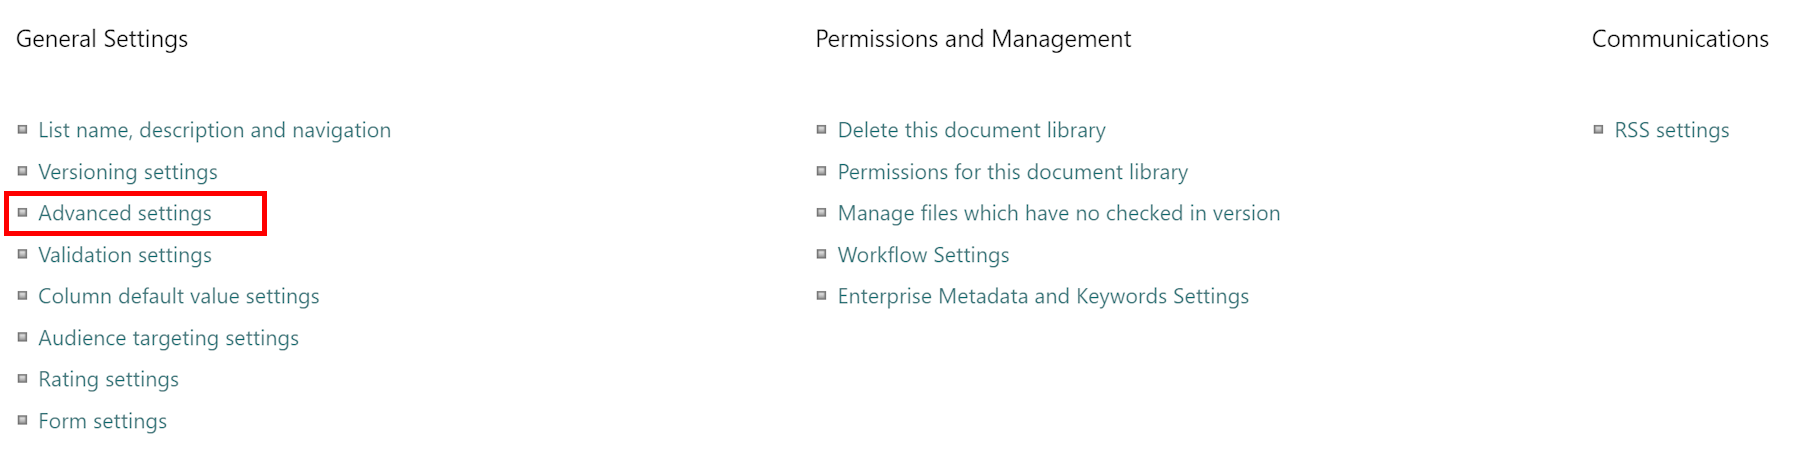
Enable the "Allow management of content types" option.
Go back to the document library settings page, and under the "Content Types" section, click on the content type if you would like to add additional columns to or edit it.
Click on the "Add from existing site content types" link if you can not find your content type set on the library.
Save the settings, and now whenever a user creates a new document of that content type, the template will be used.
Step 5: Set up Workflows
Workflows help automate document management processes, such as reviewing and approving documents or sending notifications. SharePoint provides a powerful workflow engine to configure workflows according to your organization's requirements. Follow these steps to set up workflows:
Go to the document library for which you want to set up a workflow.
Click on the "Settings" button in the top right toolbar and select "Library Settings" from the menu. Then click on "More library settings" under the Description input.
Under the "Permissions and Management" section, click on "Workflow settings."
Click on the "Add a workflow" button to create a new workflow.
Configure the workflow by specifying the conditions, actions, and participants.
Save the settings, and the workflow will be activated for the document library.
Step 6: Implement Security and Permissions
To ensure the security of your document management system, it is essential to set up proper permissions and access controls. SharePoint allows you to define permissions at the site, library, folder, and document levels. Follow these steps to implement security and permissions:
Go to the document library or site for which you want to configure permissions.
Click on the "Settings" button in the top right toolbar and select "Library Settings" from the menu. Then click on "More library settings" under the Description input.
Under the "Permissions and Management" section, click on "Permissions for this library" or "Site permissions."
Click on the "Grant Permissions" button to add users or groups and assign appropriate permissions. Specify whether users have read-only access, contribute access, or full control over the documents.
Save the permissions, and users will now have their respective access rights within the document management system.
To learn more about document library permissions in SharePoint read our guide on customizing permissions for a SharePoint document library.
Step 7: Create commonly used document templates
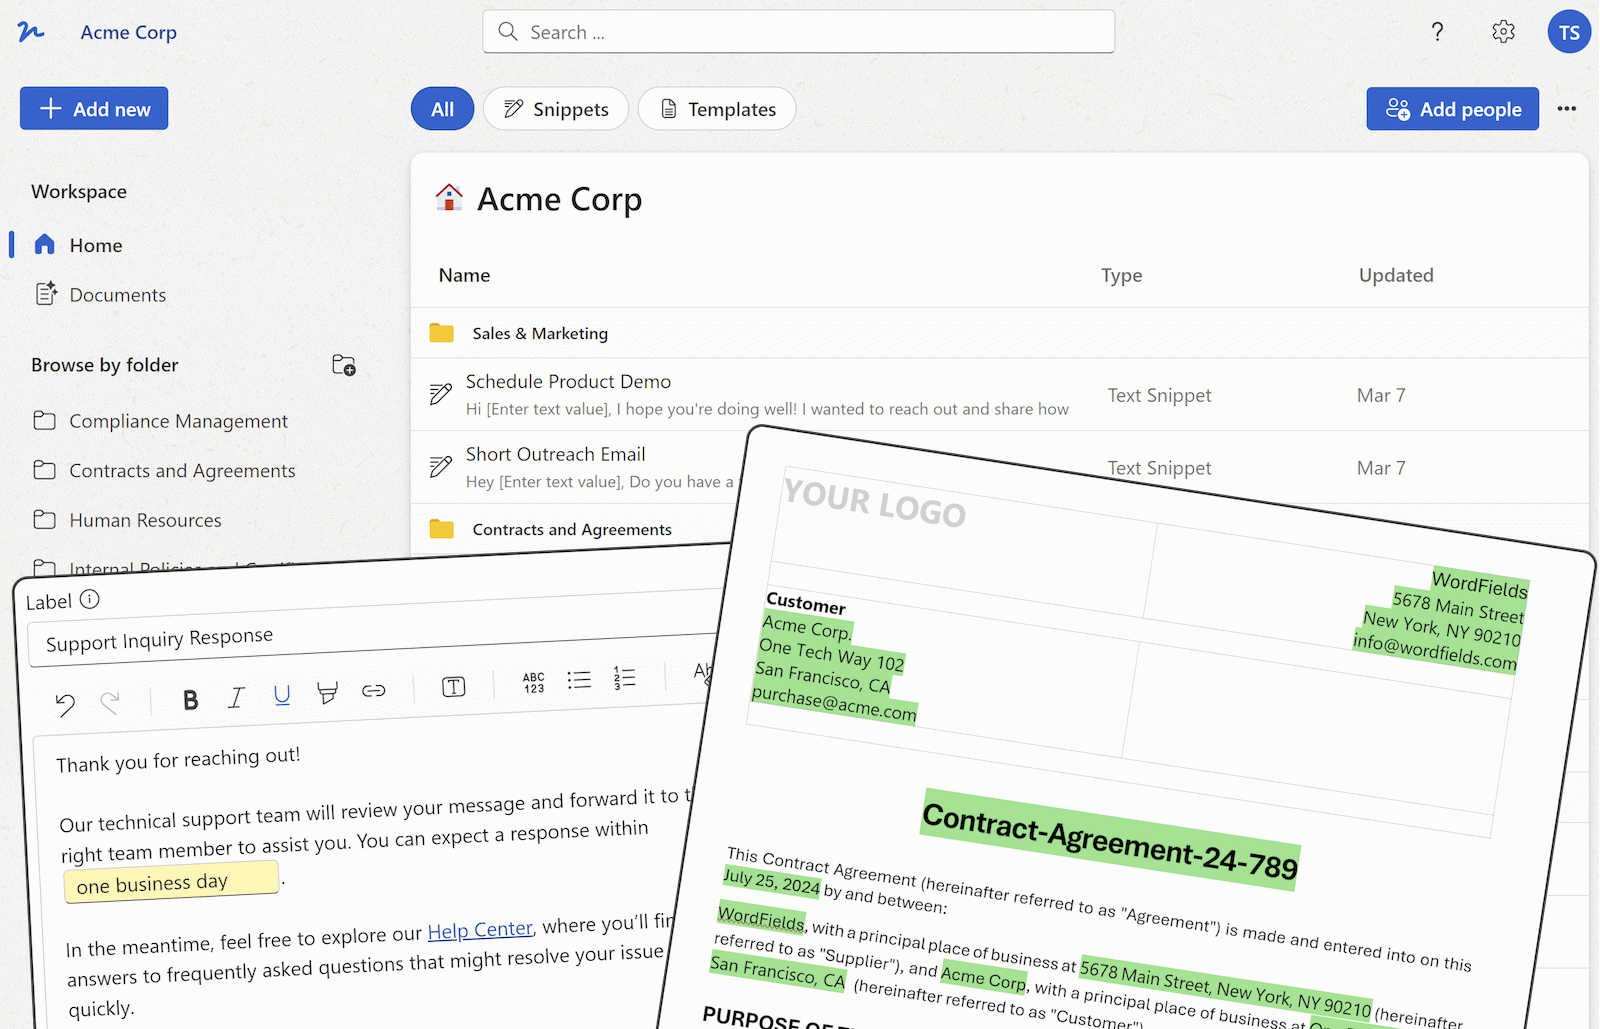
Creating commonly used document templates saves time and ensures consistency. It allows for accurate and efficient reproduction of necessary documents without the need to start from scratch each time. For that we suggest using WordFields, an app specifically designed to streamline the construction of Word forms and facilitate effortless sharing.
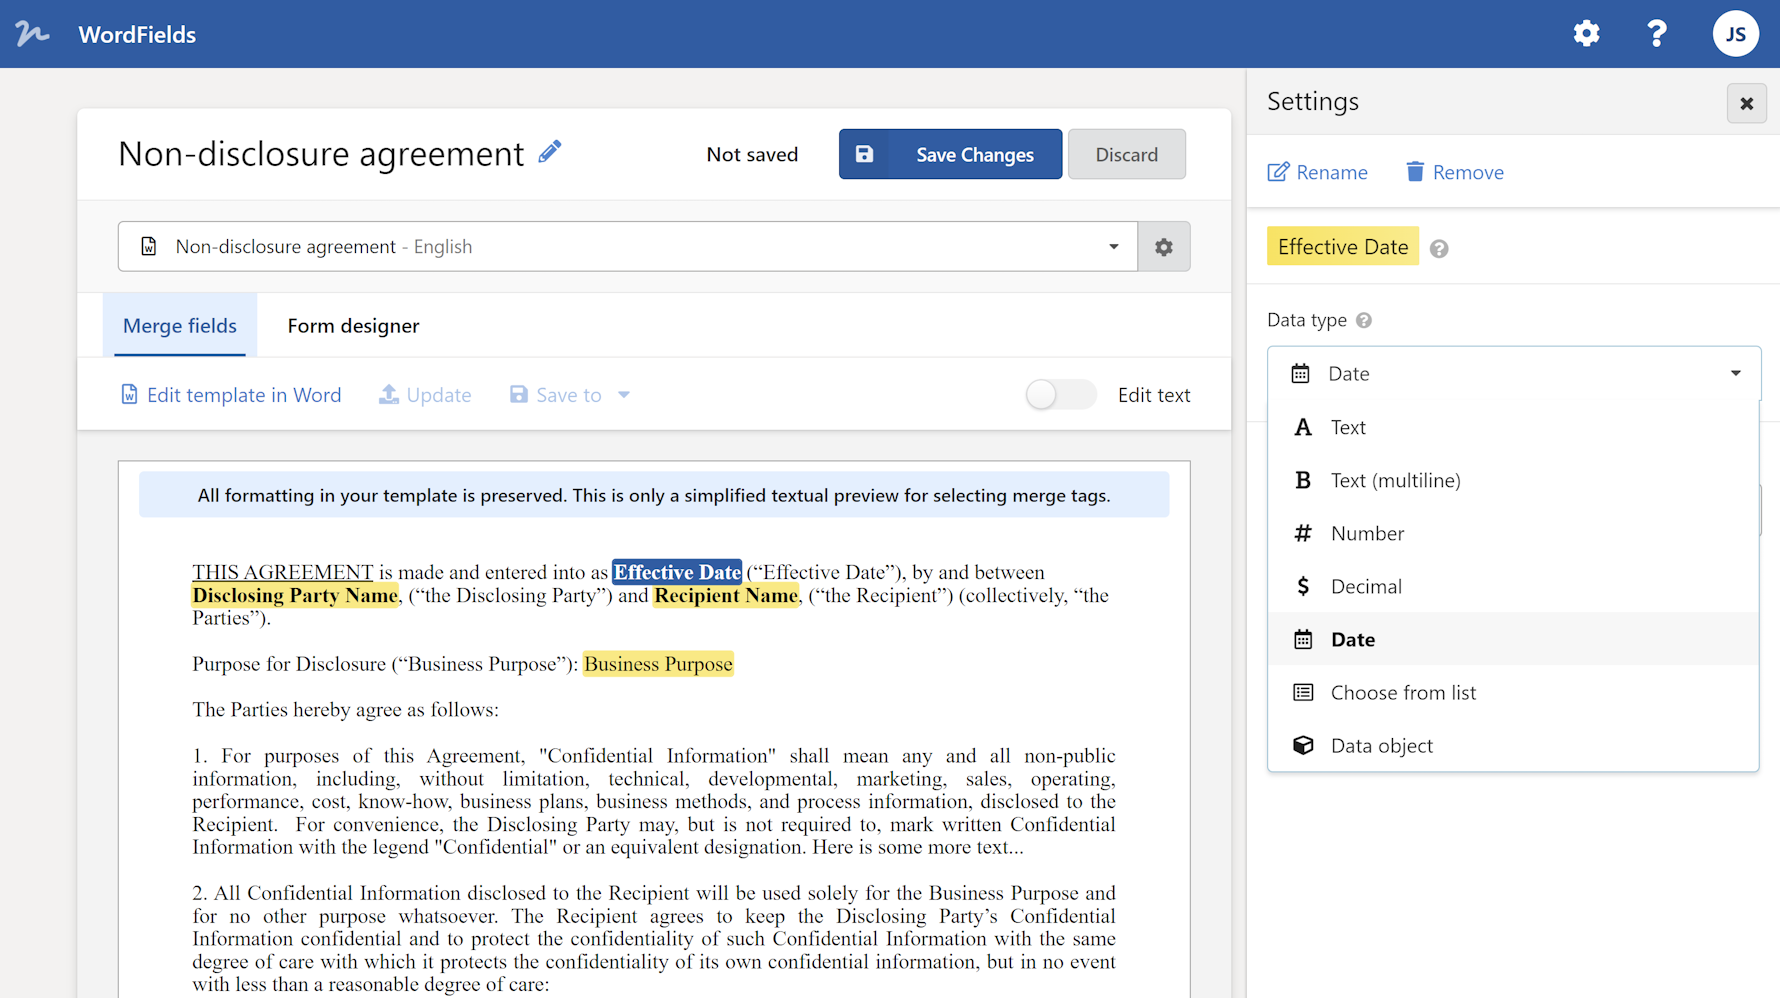
WordFields not only helps you save significant time and effort by eradicating the use of content controls or engagement with complex Word features, but its user-friendly interface also enables your team to swiftly generate new documents sans any confusion. It can also be integrated with your new SharePoint document system!
Ready to go!
Creating a document management system using SharePoint sites can significantly streamline your organization's document management processes.
By following the steps outlined in this article, you can leverage SharePoint's features to centralize document storage, enhance collaboration, ensure version control, and improve search and retrieval capabilities. Implementing a well-structured document management system can lead to increased productivity and improved efficiency within your organization.