When it comes to creating a professional and personalized touch to your documents, adding a signature can make all the difference. Whether you're signing a contract, writing a letter, or sending an important document, having a signature adds a level of credibility and authenticity. In this article, we will guide you through the process of creating a signature in Word, making it quick and easy to sign your documents digitally.
Creating a Digital Signature
If you want to create a digital signature that can be added to multiple documents without the need to scan or insert an image each time, you can use the built-in signature feature in Microsoft Word. Follow the steps below to create a digital signature:
- Open Word and click on the "File" tab at the top left corner of the window.
- From the options on the left side, select "Options".
- In the Word Options window, click on "Trust Center" in the left sidebar.
- Click on "Trust Center Settings" button on the right side.
- In the Trust Center window, select "Macro Settings" from the left sidebar.
- Select the option "Disable all macros with notification" and click on "OK".
- Close the Word Options window.
- Now, click on the "View" tab at the top of the Word window.
- In the "Views" section, click on "Print Layout" to switch to the Print Layout view.
- Now, click on the "Insert" tab at the top of the Word window.
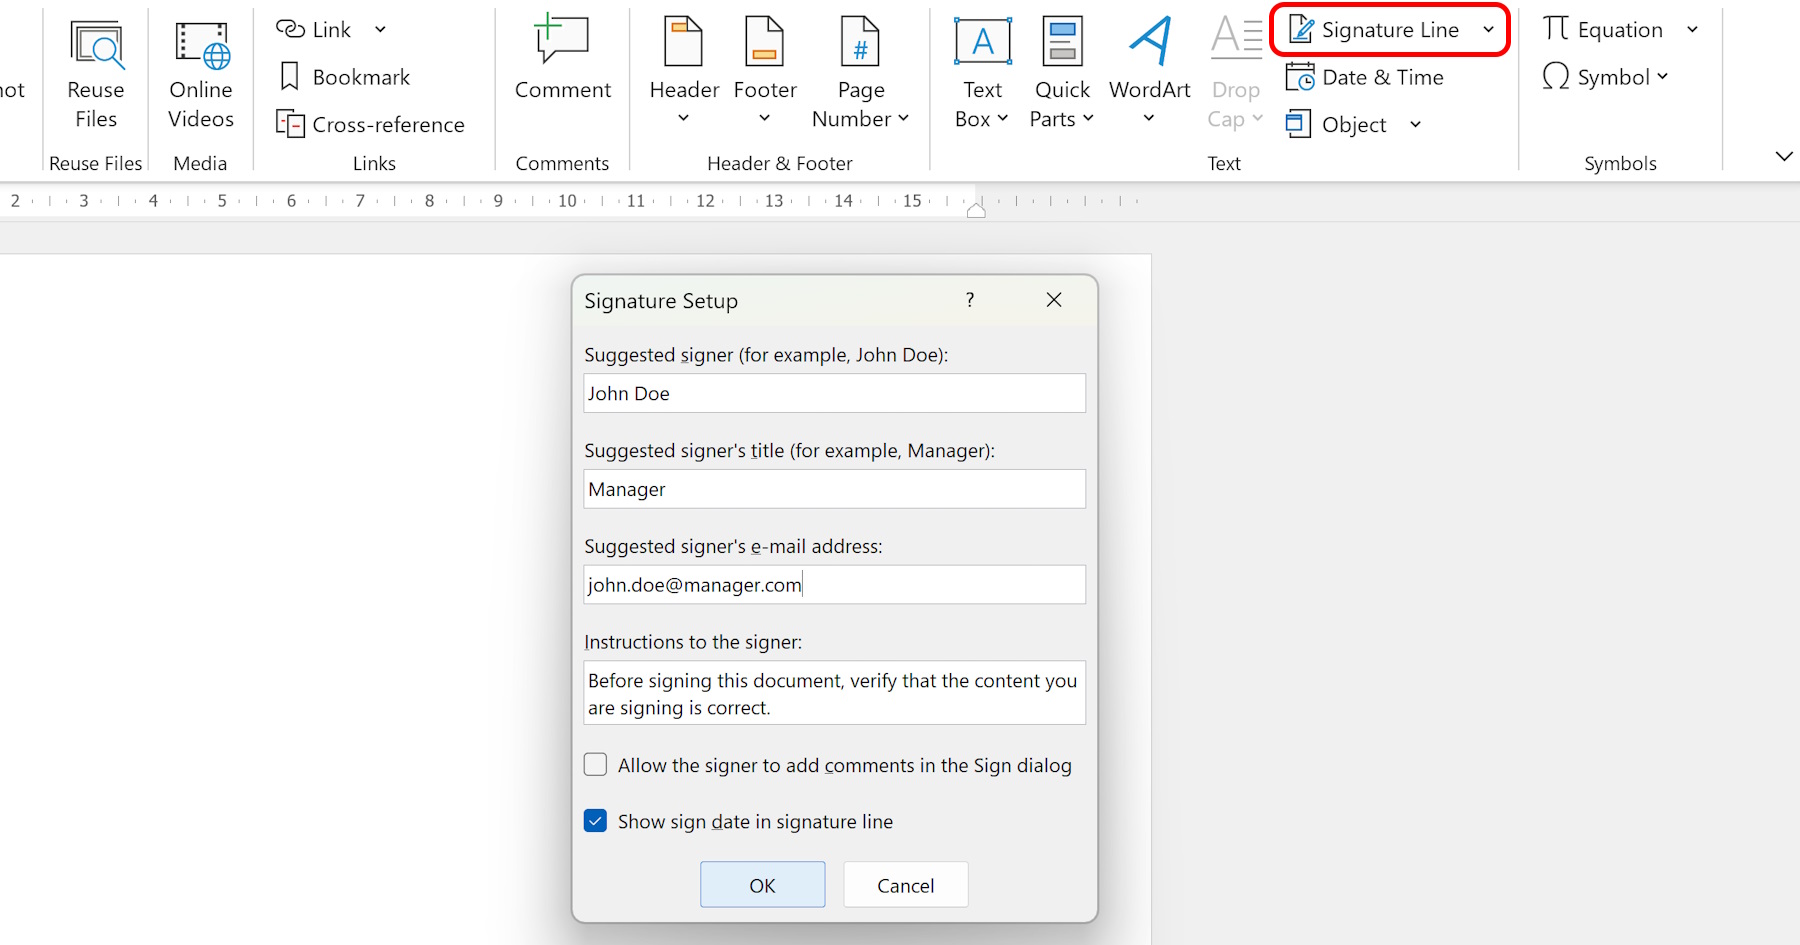
- In the "Text" section, click on "Signature Line" to insert a signature line in your document.
- A dialog box titled "Signature Setup" will appear. Enter your name in the "Suggested signer's name" field.
- Optional: Add further details, such as your job title or additional instructions, in the "Instructions to the signer" field.
- Click on "OK" to insert the signature line into your document.
- Your document will now display a yellow field with an X, indicating where the signature should be placed.
- To sign the document, double-click on the signature line. Another dialog box titled "Sign" will appear.
- If you have a digital certificate, click on "Select Image" to choose an image of your signature. If you don't have a digital certificate, you can simply type your name in the "Type signature" field.
- Click on "Sign" to add your signature to the document.
- Save the document to ensure that your digital signature is added permanently.
Creating a Handwritten Signature
One of the easiest ways to create a signature in Word is by using a handwritten signature. Follow the steps below to add your own handwritten signature:
- Start by writing your signature on a clean sheet of white paper using a black pen or marker.
- Once you're happy with your signature, scan the document or take a clear picture using your smartphone or digital camera.
- Transfer the image to your computer and save it in a location where you can easily access it later.
- Open Microsoft Word and open the document you want to add the signature to.
- Click on the "Insert" tab at the top of the Word window.
- In the "Text" section, click on "Picture" to insert the image of your handwritten signature.
- Locate the image file on your computer and click "Insert" to add it to your Word document.
- Resize and position the signature image as desired. You can also apply any necessary formatting, such as adjusting the brightness or contrast.
- Save the document to ensure that your signature is added permanently.
By following these steps, you can easily create a signature in Word, whether it's a handwritten signature or a digital signature. Adding a signature to your documents not only adds a personal touch but also ensures that your documents are secure and authentic.
