Putting page numbers on your Word documents might seem like a simple task, but it can be a bit tricky if you're not familiar with the process. In this article, we will guide you through the steps to easily put page numbers on Word and customize them to suit your needs.
Insert page numbers into a Word document
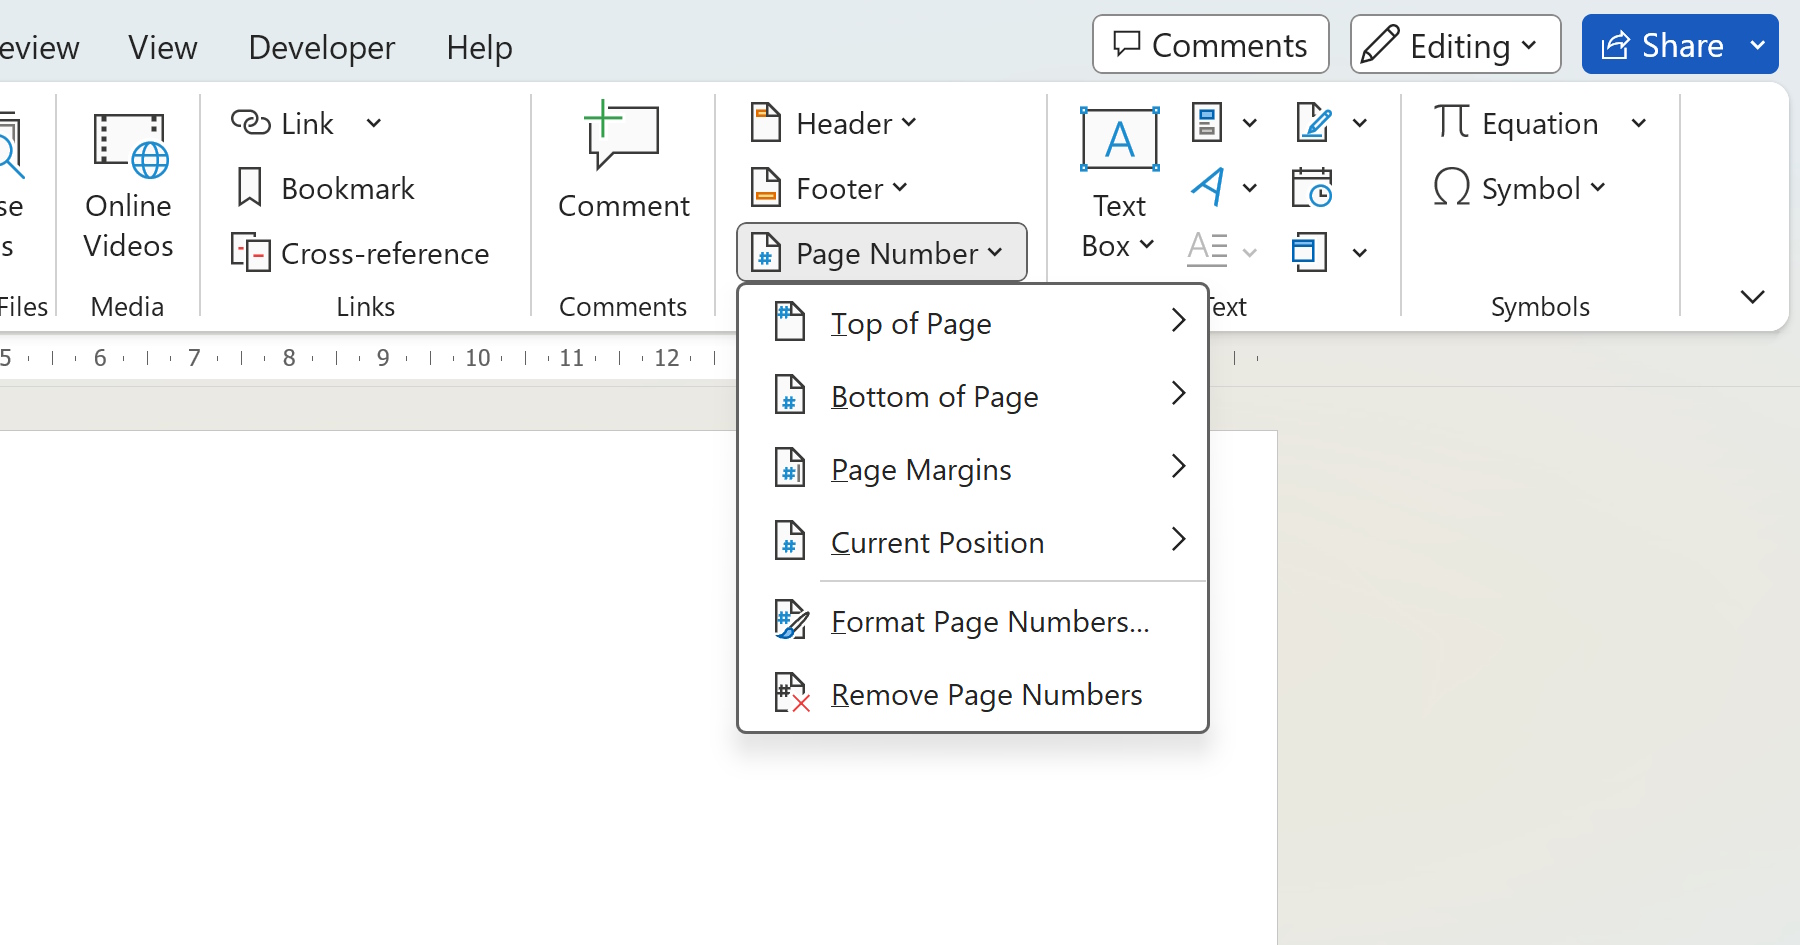
To start, open your Word document and go to the "Insert" tab on the ribbon. Look for the "Header & Footer" section and click on the "Page Number" drop-down menu. Here, you will find various options to insert page numbers in different formats. Let's explore the different options and learn how to use them effectively.
The Basic Page Numbers
The most common way to insert page numbers is by selecting the "Top of Page" or "Bottom of Page" options from the drop-down menu. Word will automatically insert the page numbers at the designated location on every page of your document. You can choose to display the numbers on the left, center, or right side of the page, depending on your preference.
The Different First Page
In some cases, you might want to exclude the page number from the first page of your document, such as the title page or a table of contents. To achieve this, select the "Different First Page" option from the drop-down menu. Word will insert page numbers starting from the second page, while leaving the first page blank.
The Different Odd and Even Pages
If you're working on a document that will be printed and bound, such as a book or a thesis, you might want to display the page numbers on the outer side of each page. In this case, select the "Different Odd & Even Pages" option from the drop-down menu. Word will insert alternating page numbers on the left and right side of the pages.
The Custom Page Numbers
Sometimes, you may need to start the page numbering from a specific number or format the page numbers in a unique way. To do this, select the "Format Page Numbers" option from the drop-down menu. Here, you can choose different numbering formats, such as Roman numerals or letters, and customize the starting number as per your requirements.
The Page Numbering Options
If you want to fine-tune the appearance and placement of the page numbers, click on the "Page Number" drop-down menu again and select "Page Numbering Options". In the dialog box that appears, you can adjust the alignment, font, and size of the page numbers. You can also choose to include chapter or section numbers in your page numbering system.
The Headers and Footers

In addition to page numbers, you can also add headers and footers to your Word document. Headers are located at the top of each page, while footers are located at the bottom. To insert headers or footers, go to the "Insert" tab, click on the "Header" or "Footer" option, and select the desired format. You can then add text, images, or other elements to your headers and footers.
Now that you know how to put page numbers on Word, you can easily organize and navigate through your documents. Whether you're working on a professional report, a school assignment, or a personal project, page numbers can make your document look more polished and accessible to readers.
In conclusion, adding page numbers to your Word documents is a simple process that can be done in a few easy steps. By using the techniques mentioned in this article, you can customize the appearance and placement of page numbers to suit your specific needs. So go ahead and give it a try, and make your Word documents look more professional and organized.
