Once your template is set up, creating a new document is as simple as filling out a form. WordFields inserts your values into the template and generates a ready-to-use file in seconds.
When you open a template, WordFields shows a two-panel screen — a form on the left and a live document preview on the right. Fill in the fields, and the preview updates as you type. When everything looks right, generate the document with a single click.
Note
You'll need access to a template in your workspace to follow these steps. If no templates exist yet, see Create a template to get started.
Step 1: Open a template
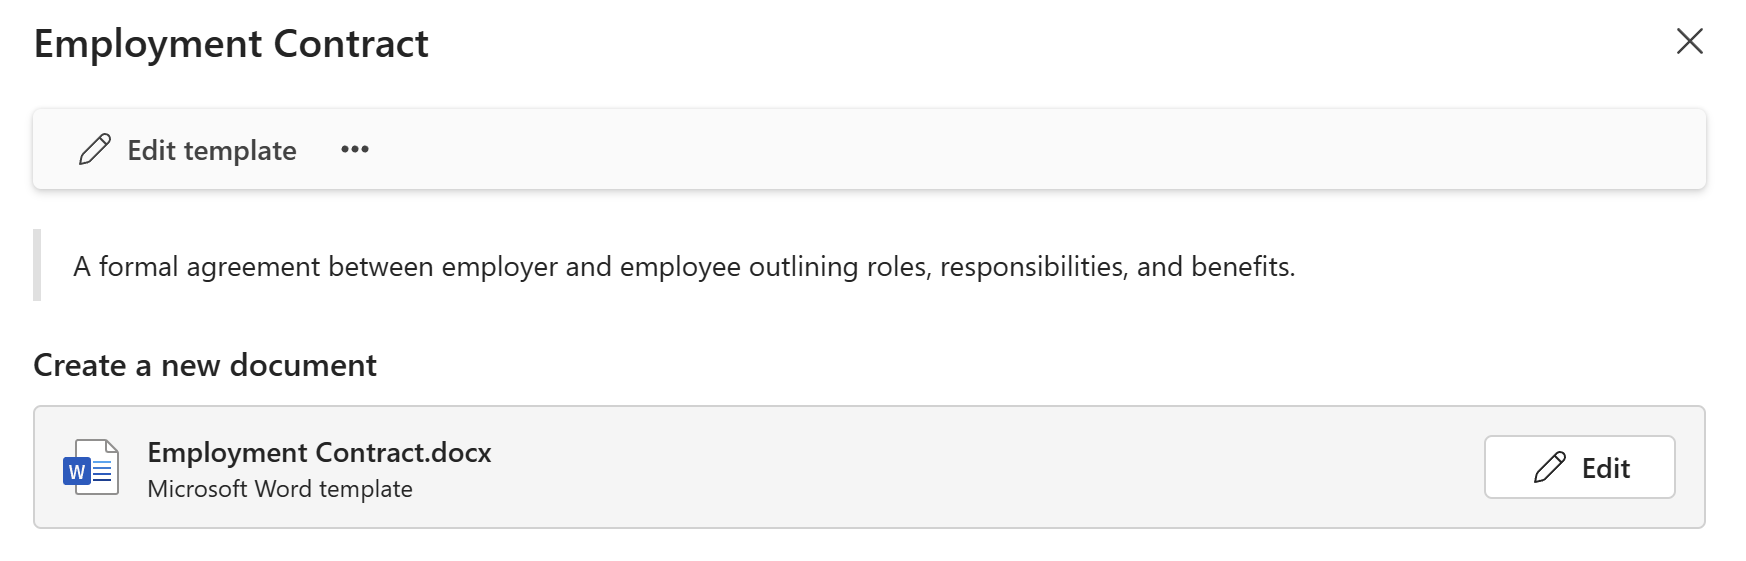
- In the workspace, browse or search for the template you want to use.
- Click the template name to open it.
The document creation screen opens with the input form on the left and a simplified preview of the document on the right.
Note
The preview gives you a general idea of how the document will look, but it's simplified — spacing, fonts, and layout may appear slightly different than the final file. The original formatting from your Word or Excel file is always preserved in the generated document.
Step 2: Fill in the form
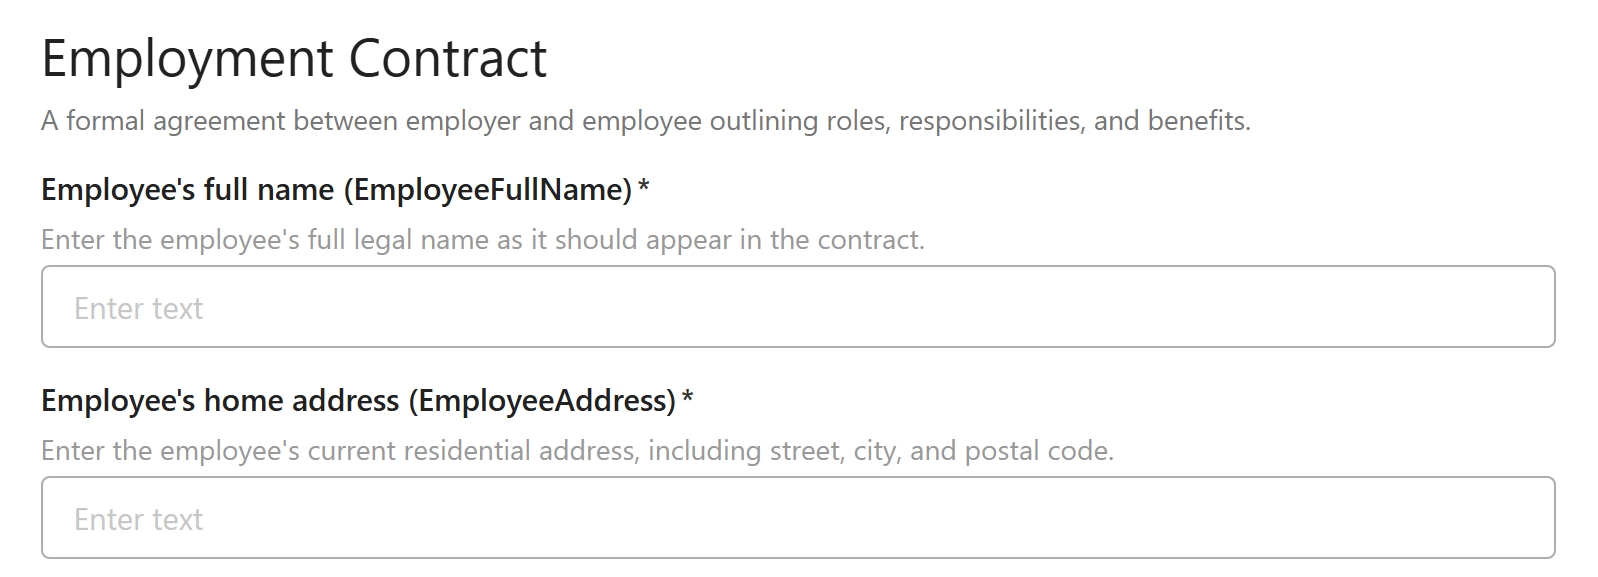
- Work through the fields in the left panel, filling in each value.
- Required fields are marked with
*— you won't be able to generate the document until all required fields are completed.
The preview on the right updates as you fill in each field, so you can spot any issues before generating.
Tip
If you make a mistake or want to start over, click Reset form in the top bar to clear all entered values and restore the form to its default state.
Step 3: Generate the document

- Once all required fields are filled in, click
Create documentin the bottom action bar.
WordFields generates the document and opens a results screen showing:
- The generated file name
- A
Downloadbutton to save the file immediately - A
Save asbutton to choose where on your disk to save it
Tip
If OneDrive is connected to your workspace, the generated document is automatically uploaded to OneDrive and opens in a new tab so you can view or edit it straight away. To connect OneDrive, see Connected apps.
If you need to generate another document from the same template, click Create another in the top-left corner next to the home button.
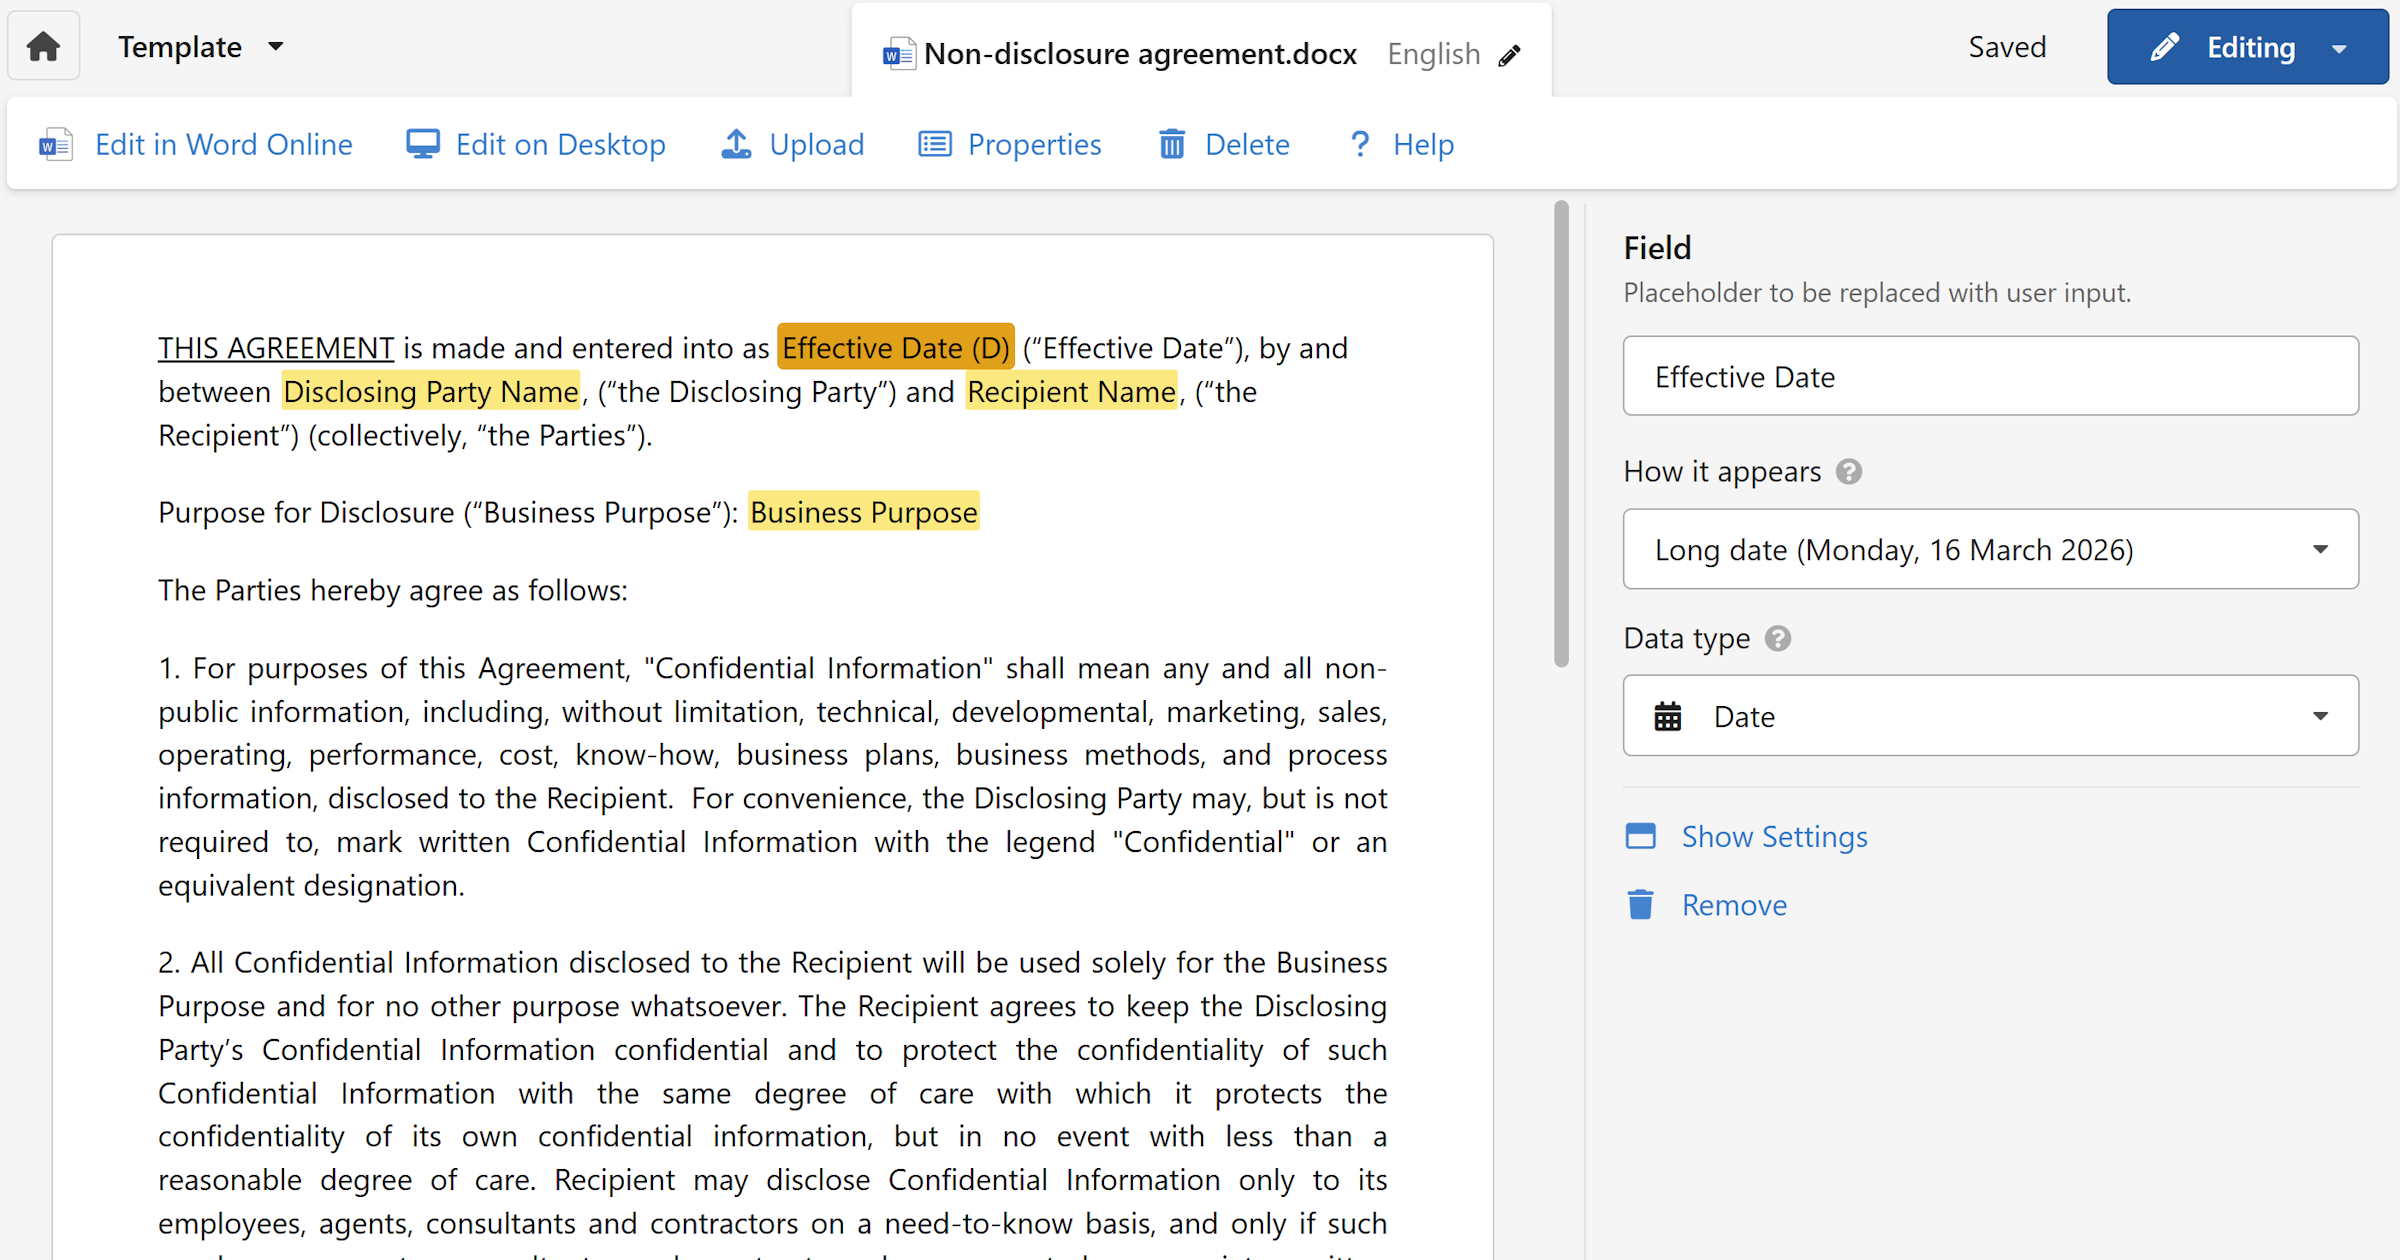
Draft mode
If you have an Admin or Manager role, you'll see an optional Draft mode toggle in the bottom action bar before generating.
Enabling draft mode generates a version of the document with all field values highlighted, making it easy to review where values were inserted. Draft documents do not increment the automatic document sequence number, so they're useful for testing a template without affecting your document numbering.
Tip
Use draft mode when setting up a new template to check that all fields are placed correctly before sharing it with your team.