Notes and guidelines let you attach instructions to a template in two places — before the form is filled out and after the document is generated. Use them to explain what the template is for, how to fill it in correctly, or what steps to take once the document is ready.
Open notes and guidelines
You can access notes and guidelines in two ways:
From the template editor:
- Open the template in the editor.
- Click the template menu on the left side of the top bar.
- Select
Numbering and settings. - Navigate to the Notes and guidelines section.
From the workspace:
- Find the template in the workspace list.
- Click the template to open it in the sidebar.
- Click the menu next to
Edit templateand selectNotes and guidelines.
Add instructions
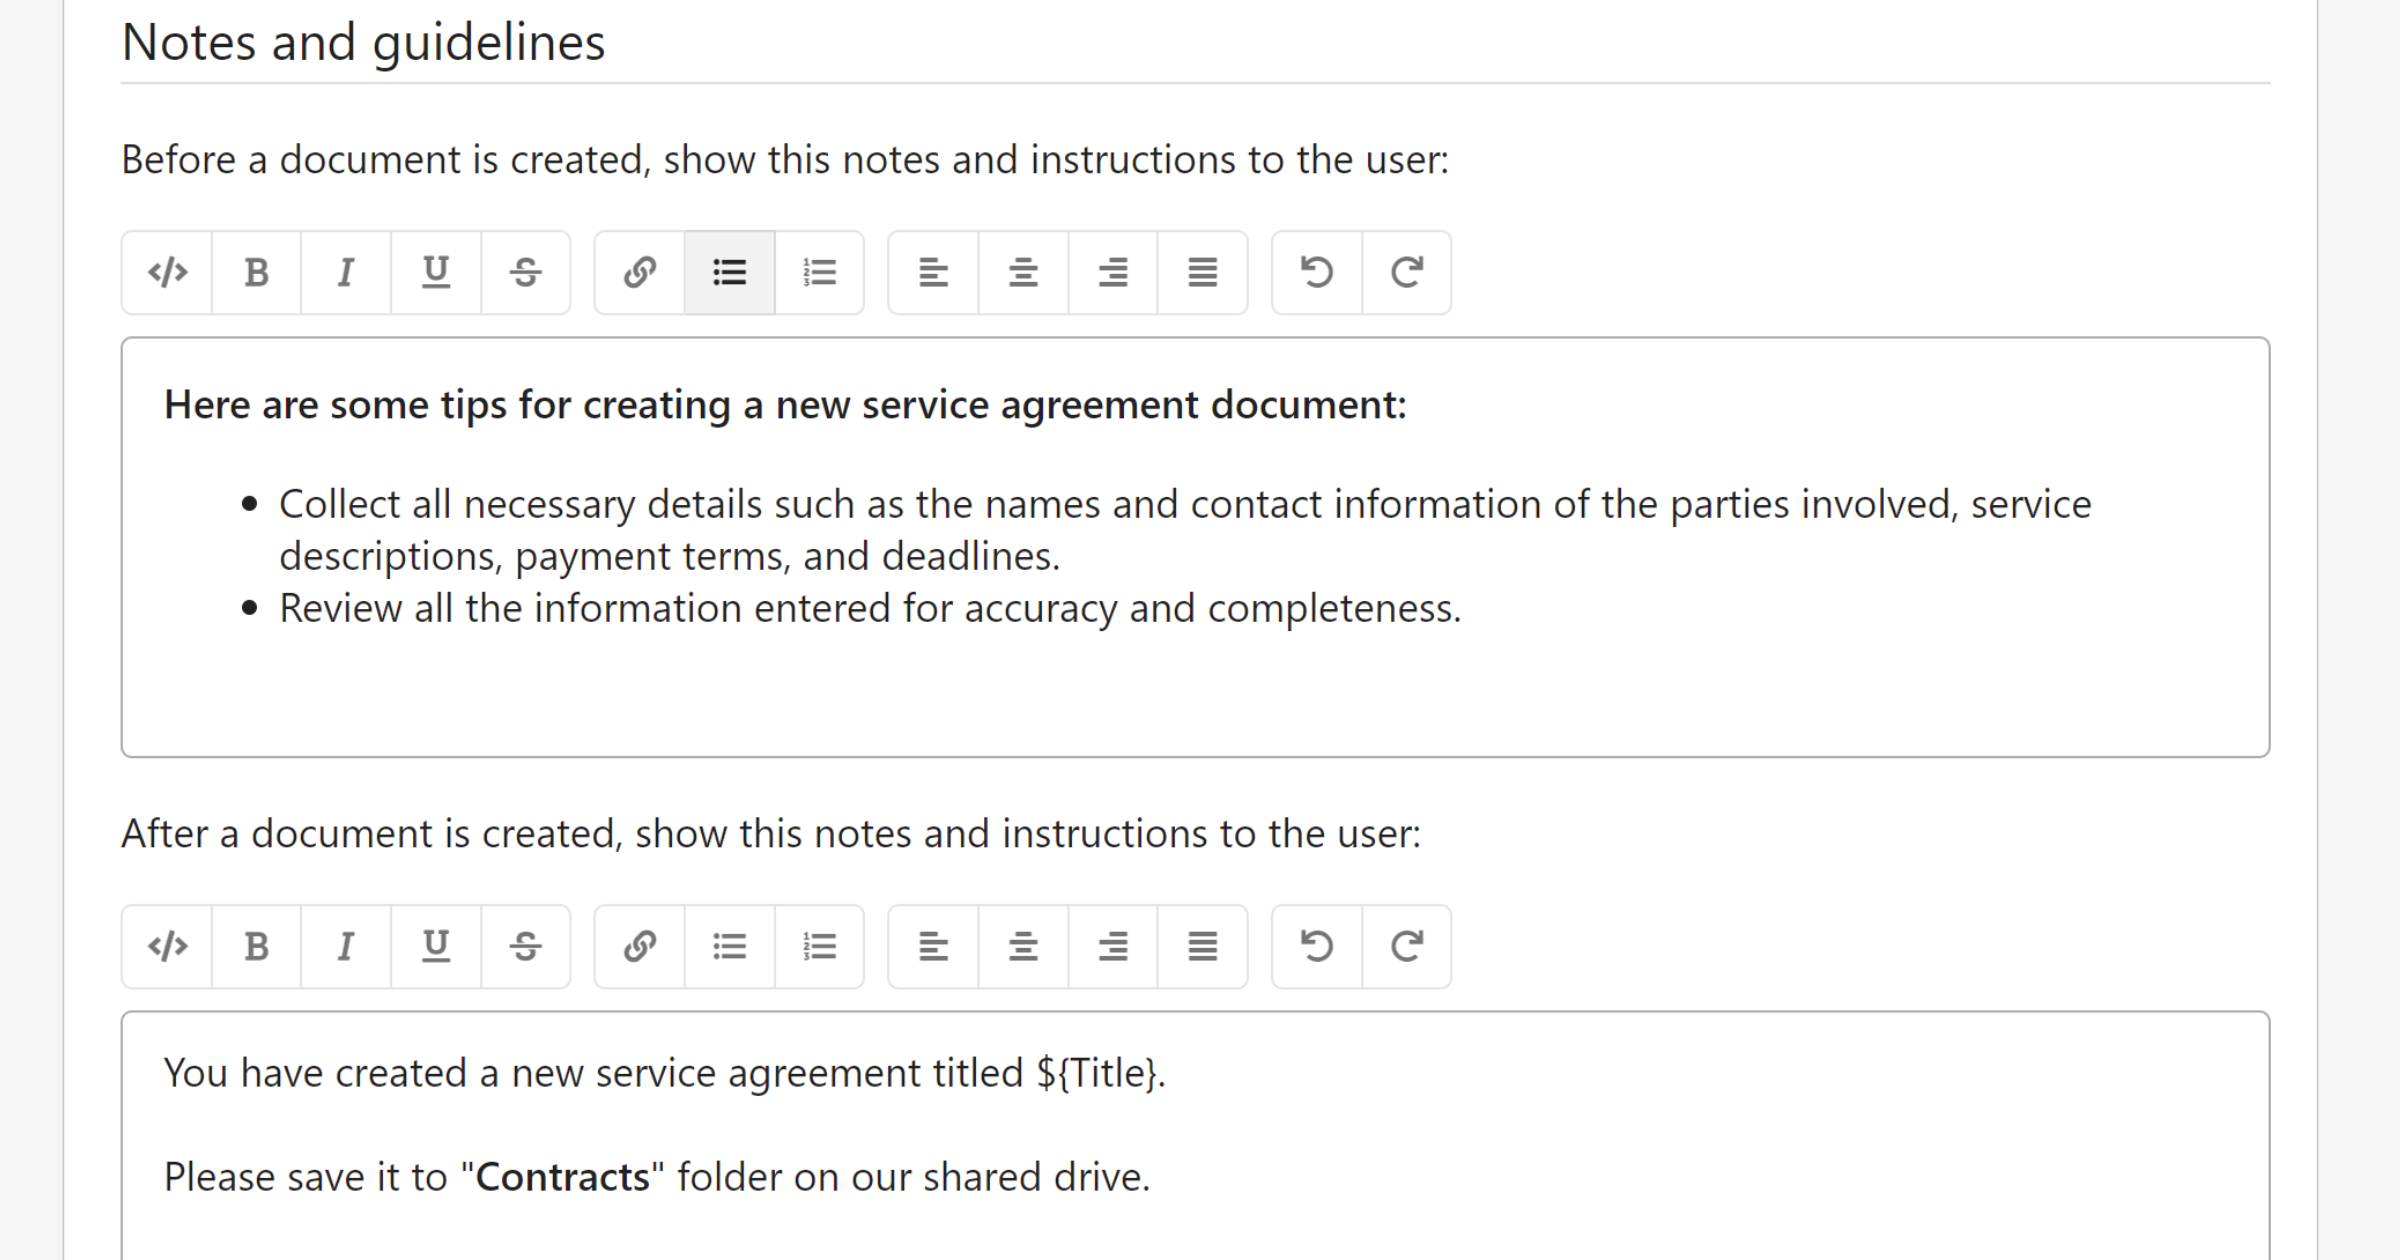
There are two separate text areas, each with a basic formatting toolbar for bold, italic, underline, strikethrough, links, and lists.
Before a document is created
Text entered here is shown at the top of the form the user fills out before generating a document. Use this to:
- Explain what the template is for and when to use it.
- Point out fields that need special attention.
- List any information the user should have ready before starting.
After a document is created
Text entered here is shown on the results screen — the same screen where the user downloads or saves the generated document. Use this to:
- Describe what to do with the document once it's generated.
- Specify who it should be sent to or where it should be filed.
- Include any follow-up steps or reminders.
Tip
You can use merge tags in the after-document notes. For example: This document was created on ${DocumentDate}. — the tag will be replaced with the actual value when the document is generated. Type ${ to start a tag and } to close it.
Save your changes
- Click
Save changeswhen you're done.