Create and manage user groups in your workspace so you can grant or revoke folder access in one place instead of updating each user individually.
Note
Only Administrators can create and manage user groups. If you don't see the Groups tab in workspace settings, your account doesn't have administrator privileges.
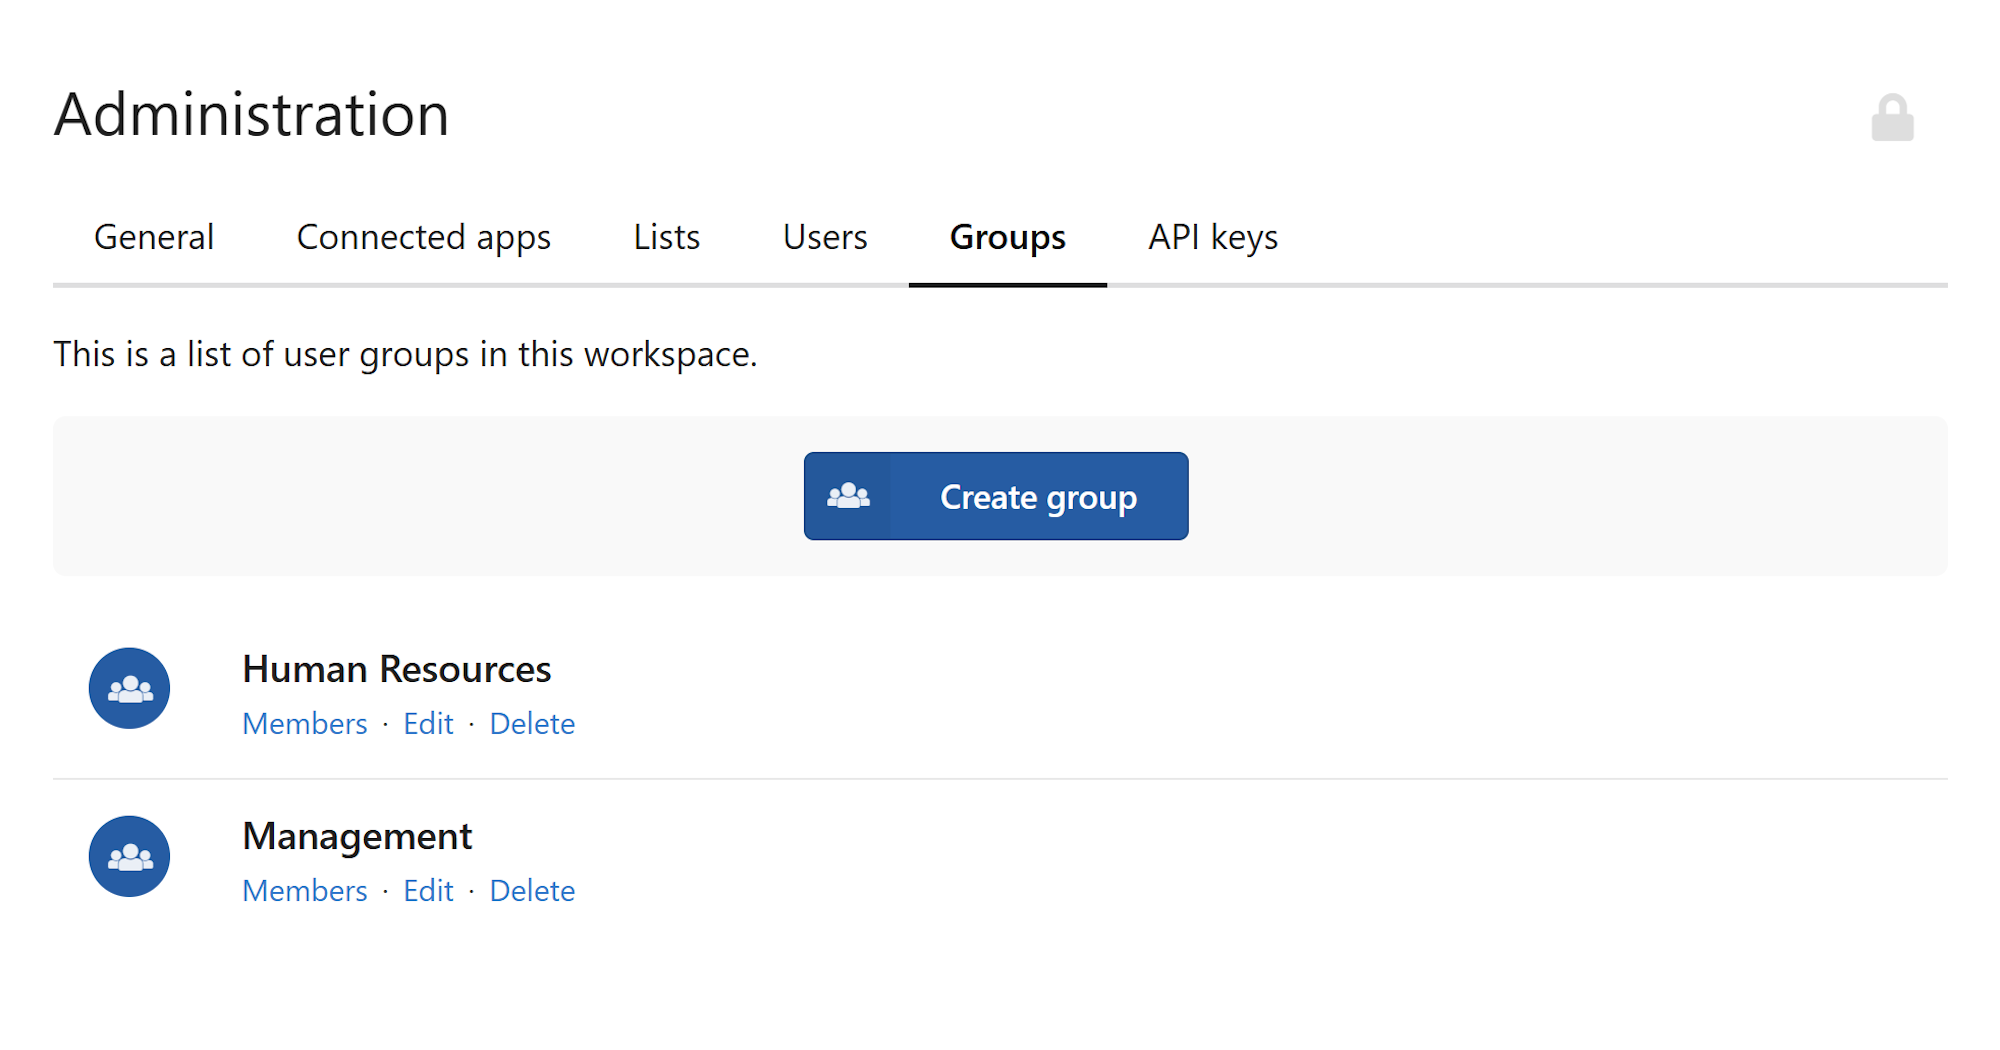
Create a new user group
- Click the cogwheel icon in the top-right corner of the navigation bar.
- Select Workspace Settings from the menu.
- Click the Groups tab at the top of the settings page.
- Click the Create group button.
- In the sidebar that appears on the right, enter a name for the group in the Name field.
- Click Create.
The new group now appears in your groups list, ready for members to be added.
Add members to a group
- On the Groups screen, find the group you want to update.
- Click the Members button next to the group name.
- On the group members screen, click Add Member in the bottom-right corner.
- In the dialog that opens, select a workspace user from the dropdown list.
- Click Add.
The user is added to the group immediately and inherits access to any folders the group is assigned to.
Note
Only existing workspace members appear in the dropdown. If the person you're looking for isn't listed, they'll need to be invited to the workspace first. See Invite users to your workspace for instructions.
Remove a member from a group
- On the Groups screen, click Members next to the relevant group.
- Find the member you want to remove in the list.
- Click the Remove button to the right of their name.
The user loses access to any folders tied to this group. You can re-add them to the group at any time by following the steps above.
Warning
Removing a member from a group immediately revokes their access to all folders assigned to that group. Make sure this is intentional before proceeding.
Rename or delete a group
On the Groups screen, each group has two additional options:
- Edit — Opens a sidebar where you can update the group name. Enter the new name and click Save changes.
- Delete — Permanently removes the group. Any folders that had this group assigned will need their permissions reviewed manually.
Warning
Deleting a group cannot be undone. Before deleting, check whether the group is assigned to any folders to avoid accidentally removing access for its members.
Why use groups instead of individual users
When you assign a group to a folder rather than named users, any change you make to the group — adding a new hire, removing someone who left — takes effect across every folder that group is assigned to, instantly.
For example, if your Sales team needs access to ten contract folders, you'd assign the Sales group to those folders once. When a new sales rep joins, add them to the group and they immediately get access to all ten folders. Without groups, you'd need to update permissions on each folder separately, every time.
Tip
As a rule of thumb: always assign groups to folders, not individuals. It takes a few extra minutes upfront but saves significant admin work as your team grows or changes.