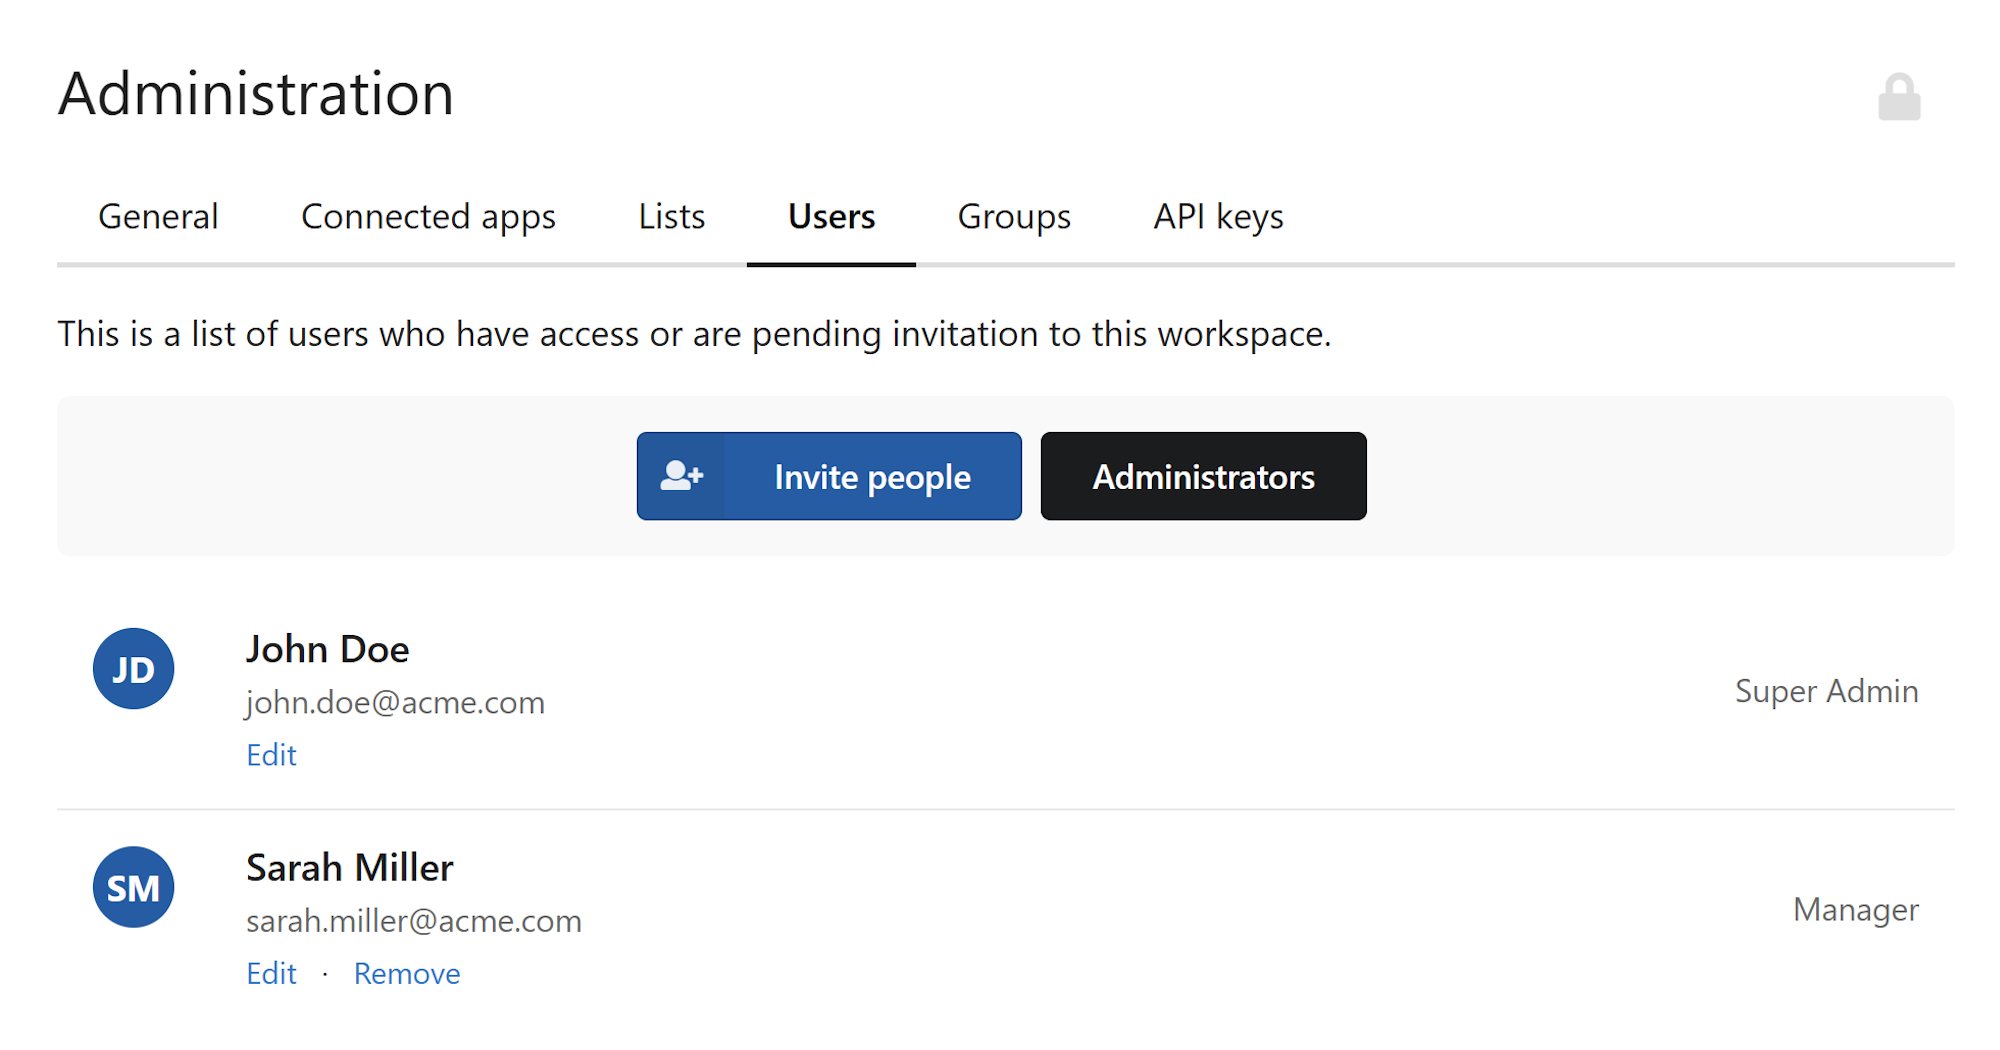
The Users page in Administration is where you manage everyone who has access to your workspace — active members, pending invitations, and administrators.
User dashboard
To get there, click the cog icon in the top right corner and select Workspace Settings, then click the Users tab.
Inviting new members
- Click
Invite peopleat the top of the Users page. - Enter the email addresses of the people you want to invite. Separate multiple addresses with a comma.
- Click
Send.
Each person receives an email with a link to join the workspace. Until they accept, they appear in the list with an Invited status. You can also invite people directly from the workspace home page using the Add people button. See Invite users to your workspace for instructions.
Note
Newly joined members are automatically assigned the Member role. See Roles and permissions for details on what each role can do.
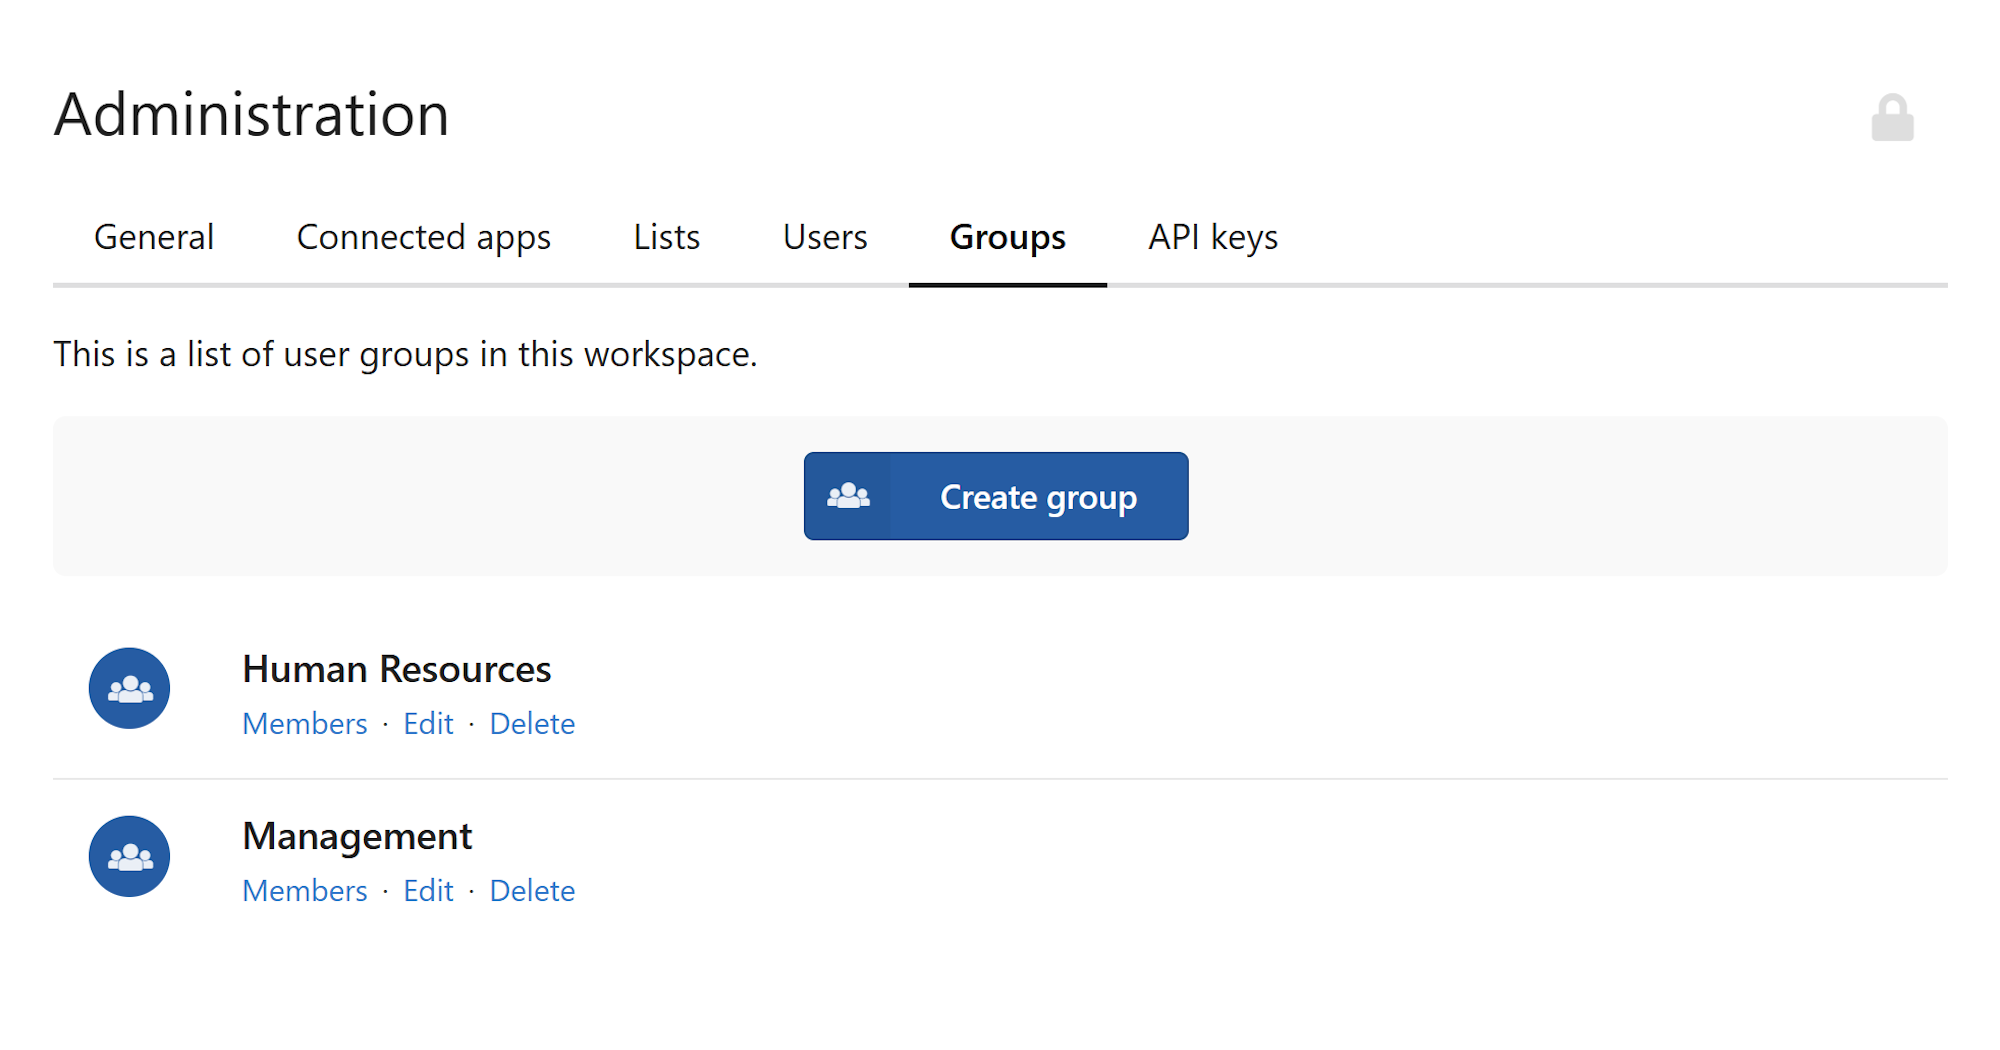
Managing pending invitations
If someone hasn't received or acted on their invitation, find them in the Users list and use the options next to their name:
- Resend invitation — Sends the invitation email again to the same address.
- Revoke invitation — Cancels the invitation. The previously sent link will stop working immediately. You'll need to invite them again if you change your mind.
Editing a member's profile
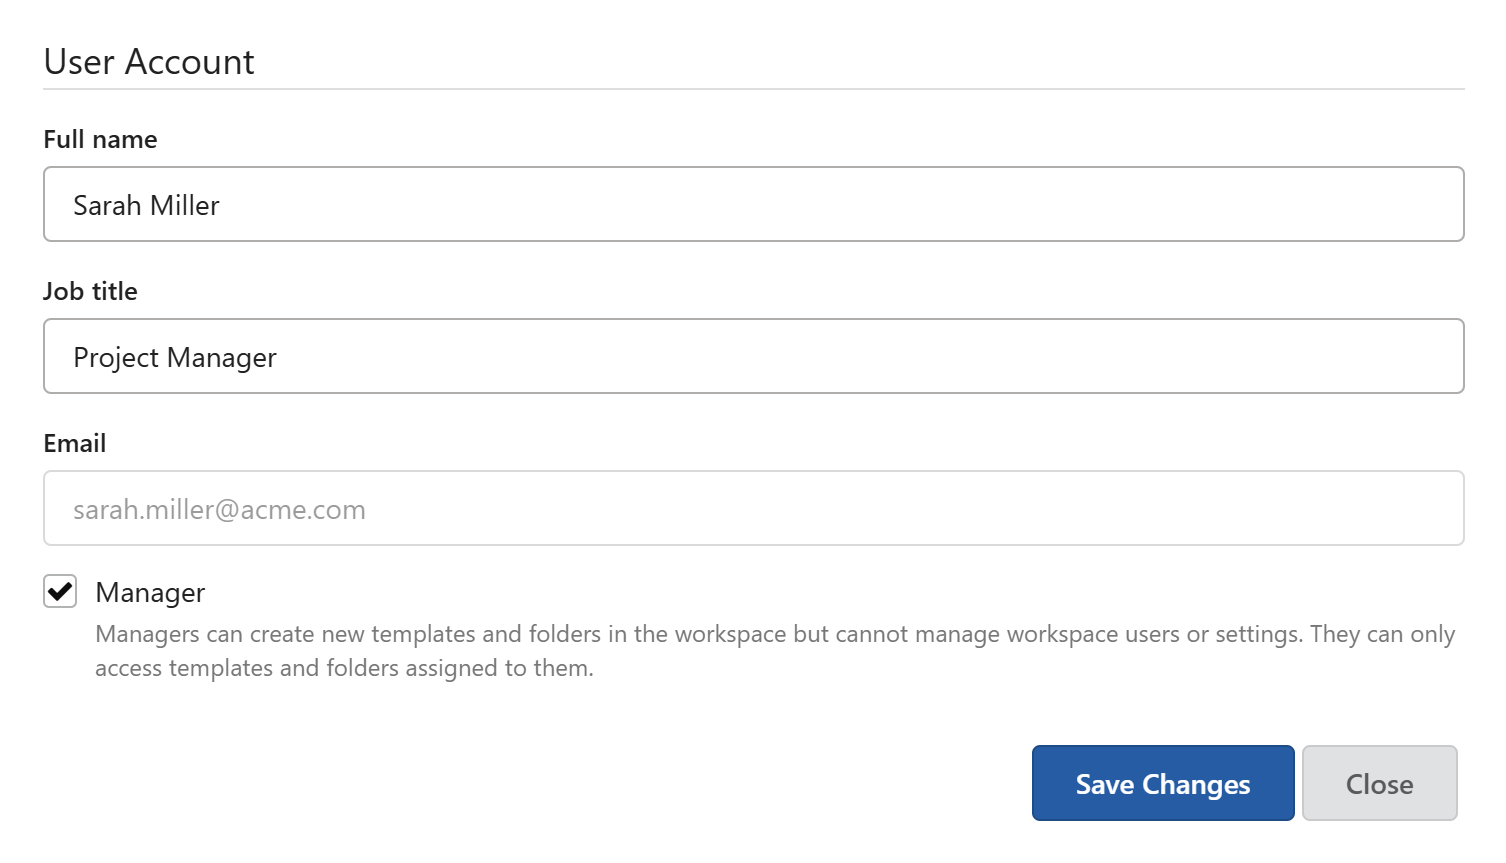
Admins can update the name and job title of any workspace member.
- Find the member in the Users list and click
Edit. - Update their Full name or Job title in the sidebar that opens.
- Click
Save changes.
Note
A member's email address cannot be changed. If someone needs to use a different email, remove them from the workspace and send a new invitation to the new address.
Changing a member's role
Promote to Admin
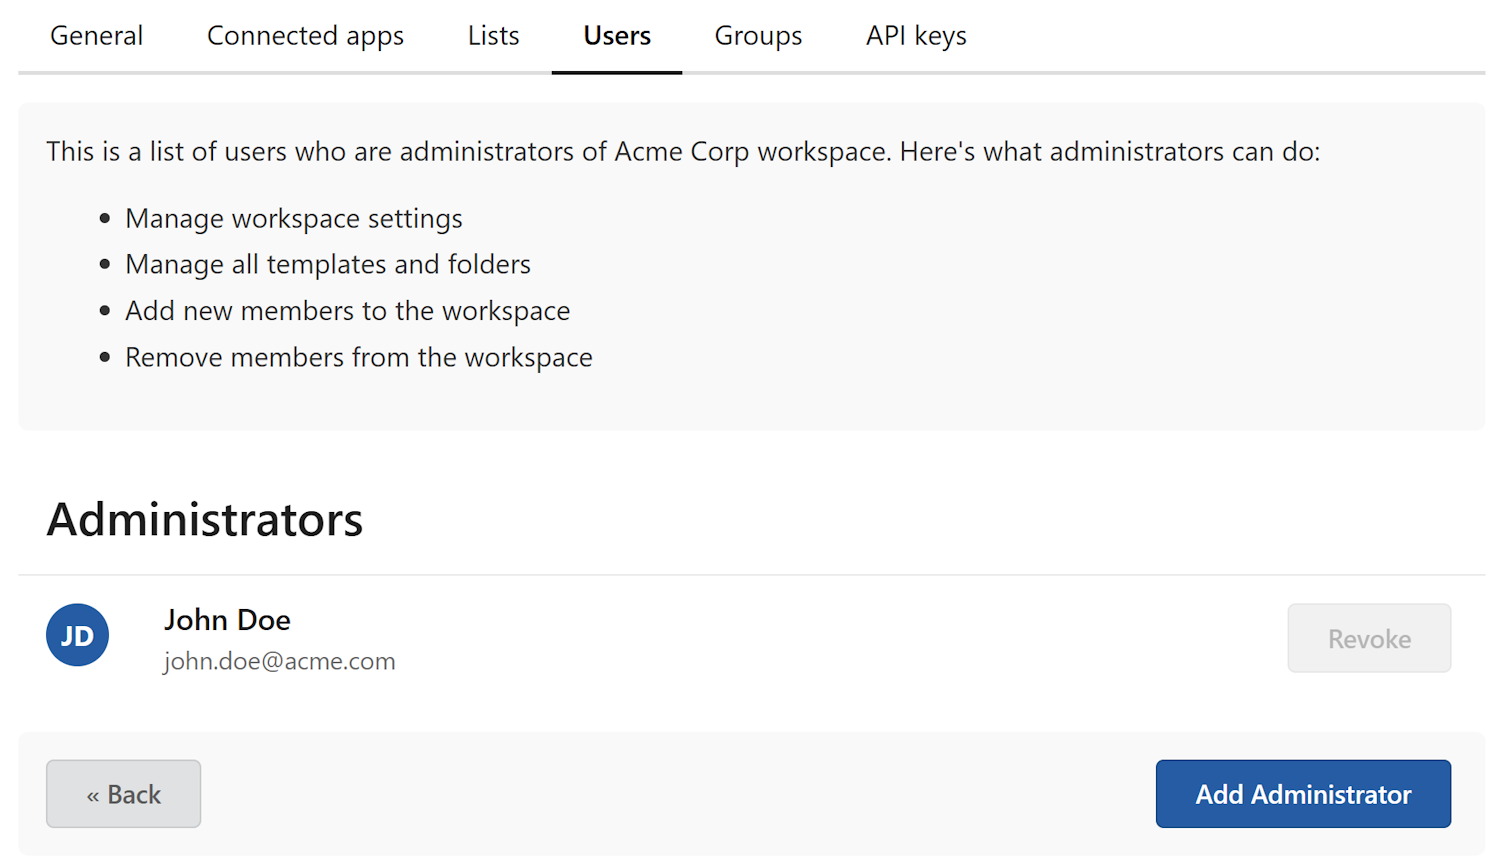
- Click
Administratorsat the top of the Users page. - Click
Add Administratorin the bottom right corner. - Select the member from the list and click
Add Administratorto confirm.
The member now appears in the Administrators list and has full Admin privileges.
Assign Manager role
- Find the member in the Users list and click
Edit. - Check the Manager checkbox in the sidebar.
- Click
Save changes.
Note
The Manager checkbox is only visible if the user is not already an Admin.
Revoke Admin role
- Click
Administratorsat the top of the Users page. - Find the administrator and click
Revokenext to their name.
The member retains their workspace access but loses Admin privileges.
Note
To transfer workspace ownership, please contact support.
Removing a member
- Find the member in the Users list.
- Click
Removenext to their name.
The member is removed from the workspace immediately and loses access to all content. Their previously generated documents are not affected.
Warning
Removing a member cannot be undone. You would need to invite them again if you want to restore their access.